> ## Documentation Index
> Fetch the complete documentation index at: https://docs.cogniagent.ai/llms.txt
> Use this file to discover all available pages before exploring further.
# Define the Workflow
> Choose a trigger, then add actions and logic to build your workflow
Every workflow starts with a **trigger**. Your first node defines how the workflow begins.
## 1. Open the node selector
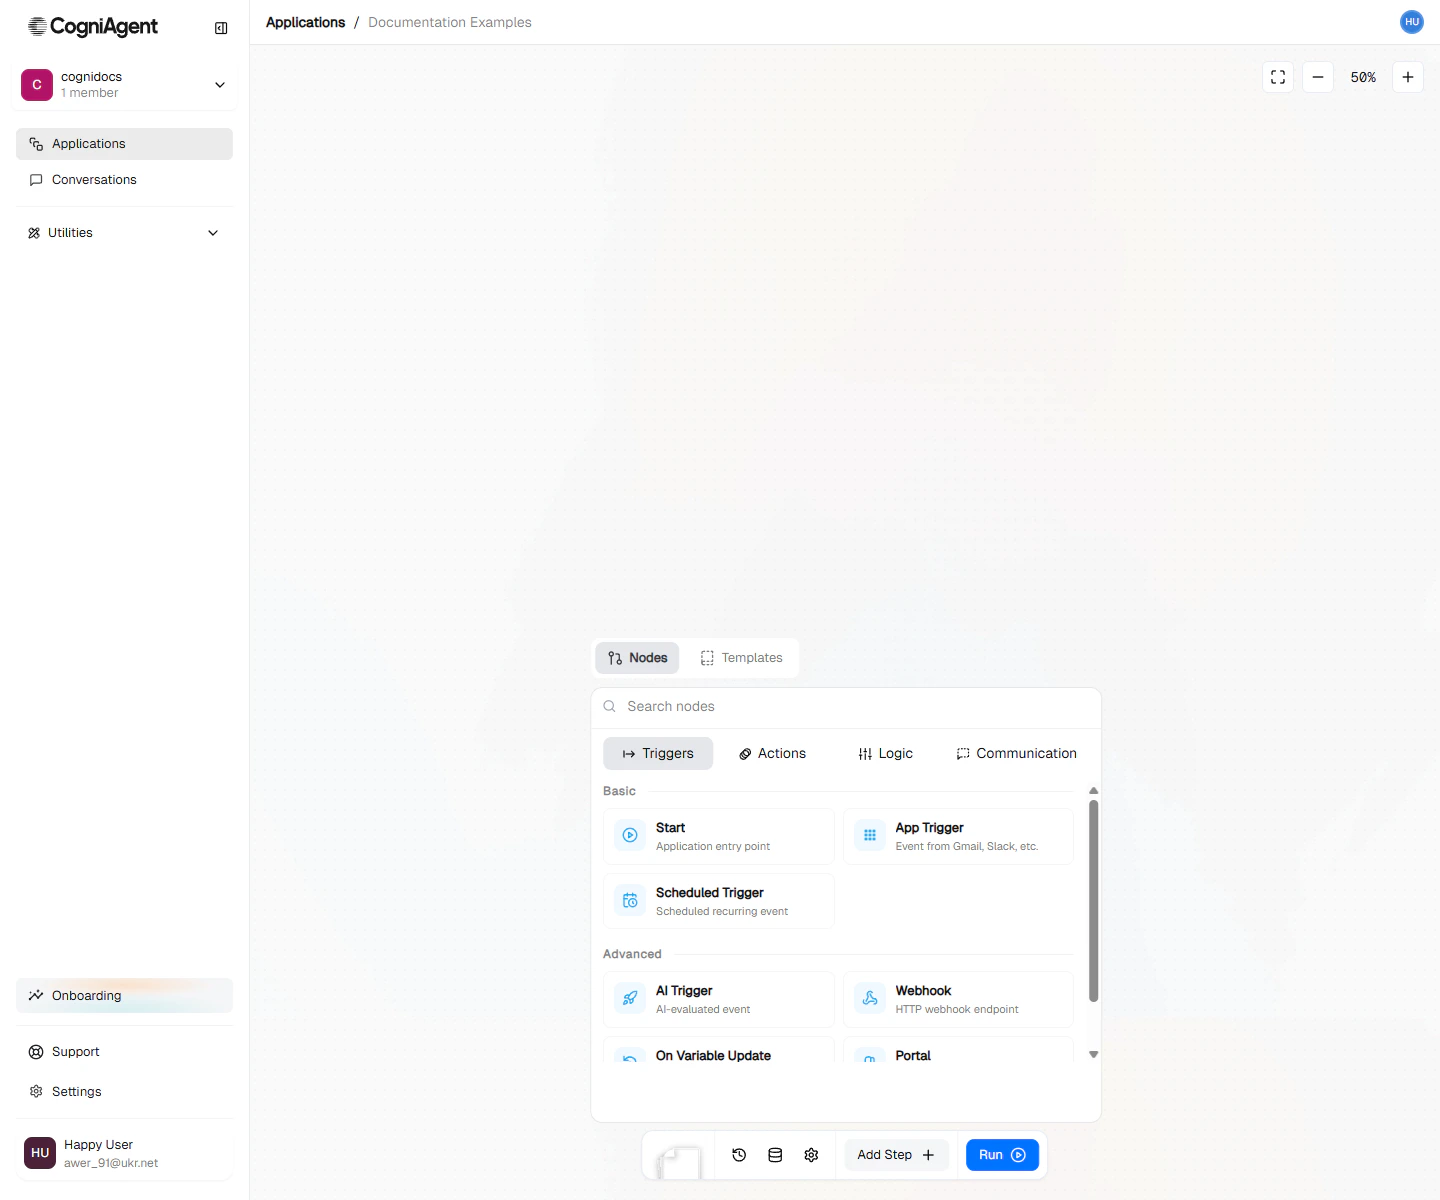
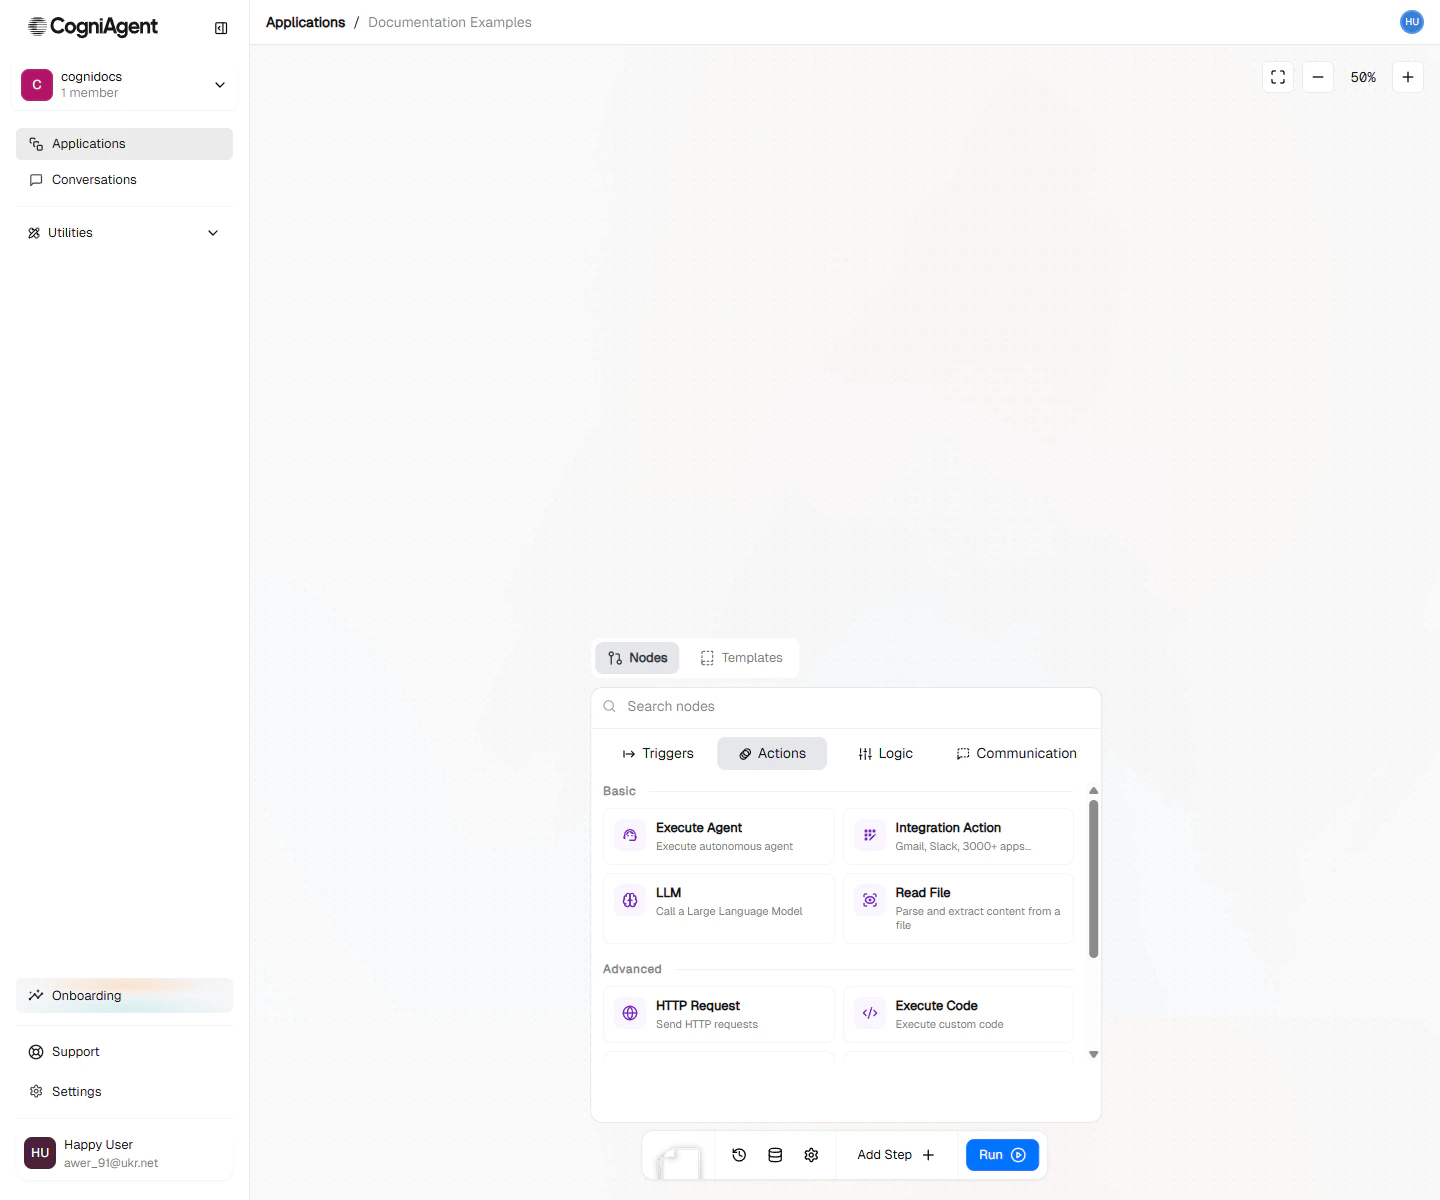
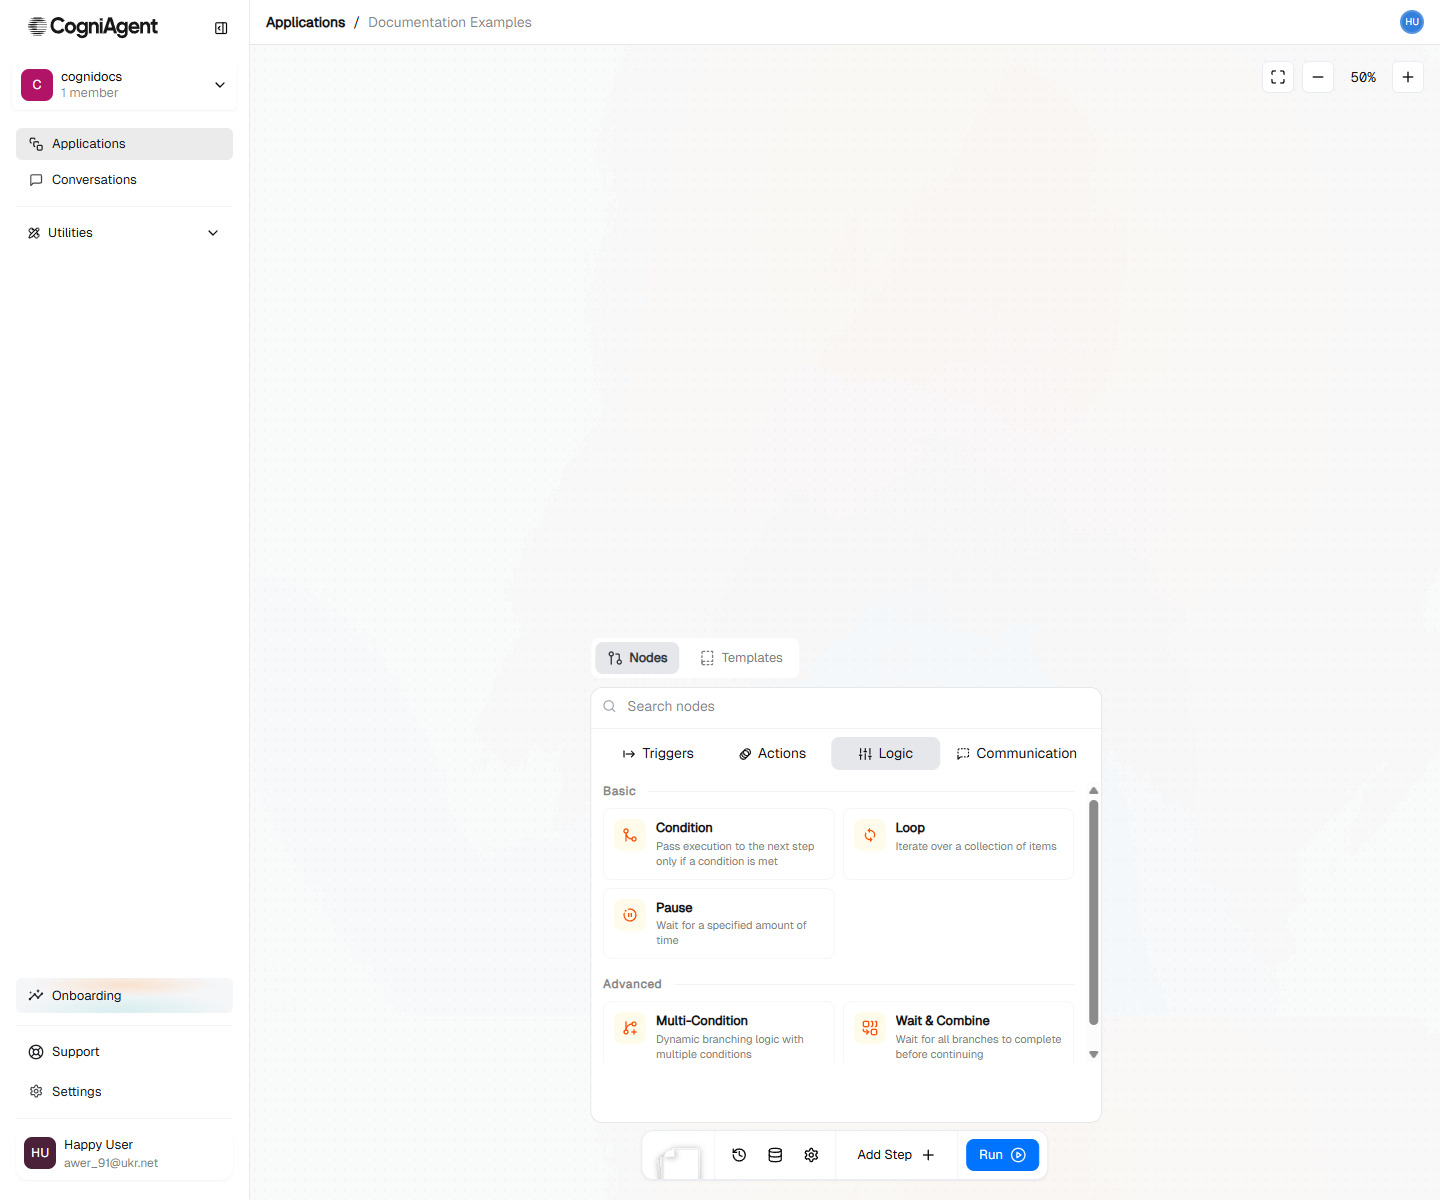
Click the **Create first node** button in the center of the canvas (or **Add Step** in the bottom toolbar). This opens a menu of node types grouped into triggers, actions, and logic.
 ## 2. Choose a starting trigger
Pick one based on how you want the workflow to start:
| Trigger | Use it when... |
| --------------------- | --------------------------------------------------------------- |
| **Start** | You want to run manually while building and testing |
| **Scheduled Trigger** | You want it to run on a schedule |
| **Webhook** | Another system needs to send you data to start the workflow |
| **App Trigger** | You want to start from an event in a connected app |
| **AI Trigger** | You want AI to decide when incoming data matches your condition |
Once your trigger is on the canvas, connect it to your next node to keep building the workflow.
Learn every way to start workflows.
Do the work: AI, apps, HTTP requests, files, and more.
Branch, loop, pause, and wait for approvals.
## 3. Pass data between nodes
A crucial concept in CogniAgent is that each node can access the output variables generated by all preceding nodes in the workflow. This ensures continuous, logical data movement.
To access data from a previous step, use the format: `{{node_key.output_name}}`
For example, data entered in a Start node is accessed as:
```
{{on_start_1.startingInputData}}
```
## 2. Choose a starting trigger
Pick one based on how you want the workflow to start:
| Trigger | Use it when... |
| --------------------- | --------------------------------------------------------------- |
| **Start** | You want to run manually while building and testing |
| **Scheduled Trigger** | You want it to run on a schedule |
| **Webhook** | Another system needs to send you data to start the workflow |
| **App Trigger** | You want to start from an event in a connected app |
| **AI Trigger** | You want AI to decide when incoming data matches your condition |
Once your trigger is on the canvas, connect it to your next node to keep building the workflow.
Learn every way to start workflows.
Do the work: AI, apps, HTTP requests, files, and more.
Branch, loop, pause, and wait for approvals.
## 3. Pass data between nodes
A crucial concept in CogniAgent is that each node can access the output variables generated by all preceding nodes in the workflow. This ensures continuous, logical data movement.
To access data from a previous step, use the format: `{{node_key.output_name}}`
For example, data entered in a Start node is accessed as:
```
{{on_start_1.startingInputData}}
```