> ## Documentation Index
> Fetch the complete documentation index at: https://docs.cogniagent.ai/llms.txt
> Use this file to discover all available pages before exploring further.
# Workflow Nodes Overview
> The building blocks for automating your work with CogniAgent
Think of nodes as steps in a recipe. Each node does one thing, and you connect them together to create an automated workflow. Just like a recipe has steps for prep, cooking, and plating, workflows have steps for triggering, doing work, and making decisions.
## Three Types of Nodes
CogniAgent has three types of nodes, each with a different job:
**Start your workflow.** Like an alarm clock that kicks things off - when an email arrives, when a form is submitted, or at a scheduled time.
**Do the work.** Send emails, ask AI to analyze text, update spreadsheets, or post messages to Slack.
**Make decisions.** Choose different paths based on conditions - like "if the email is urgent, do this; otherwise, do that."
## How Nodes Work Together
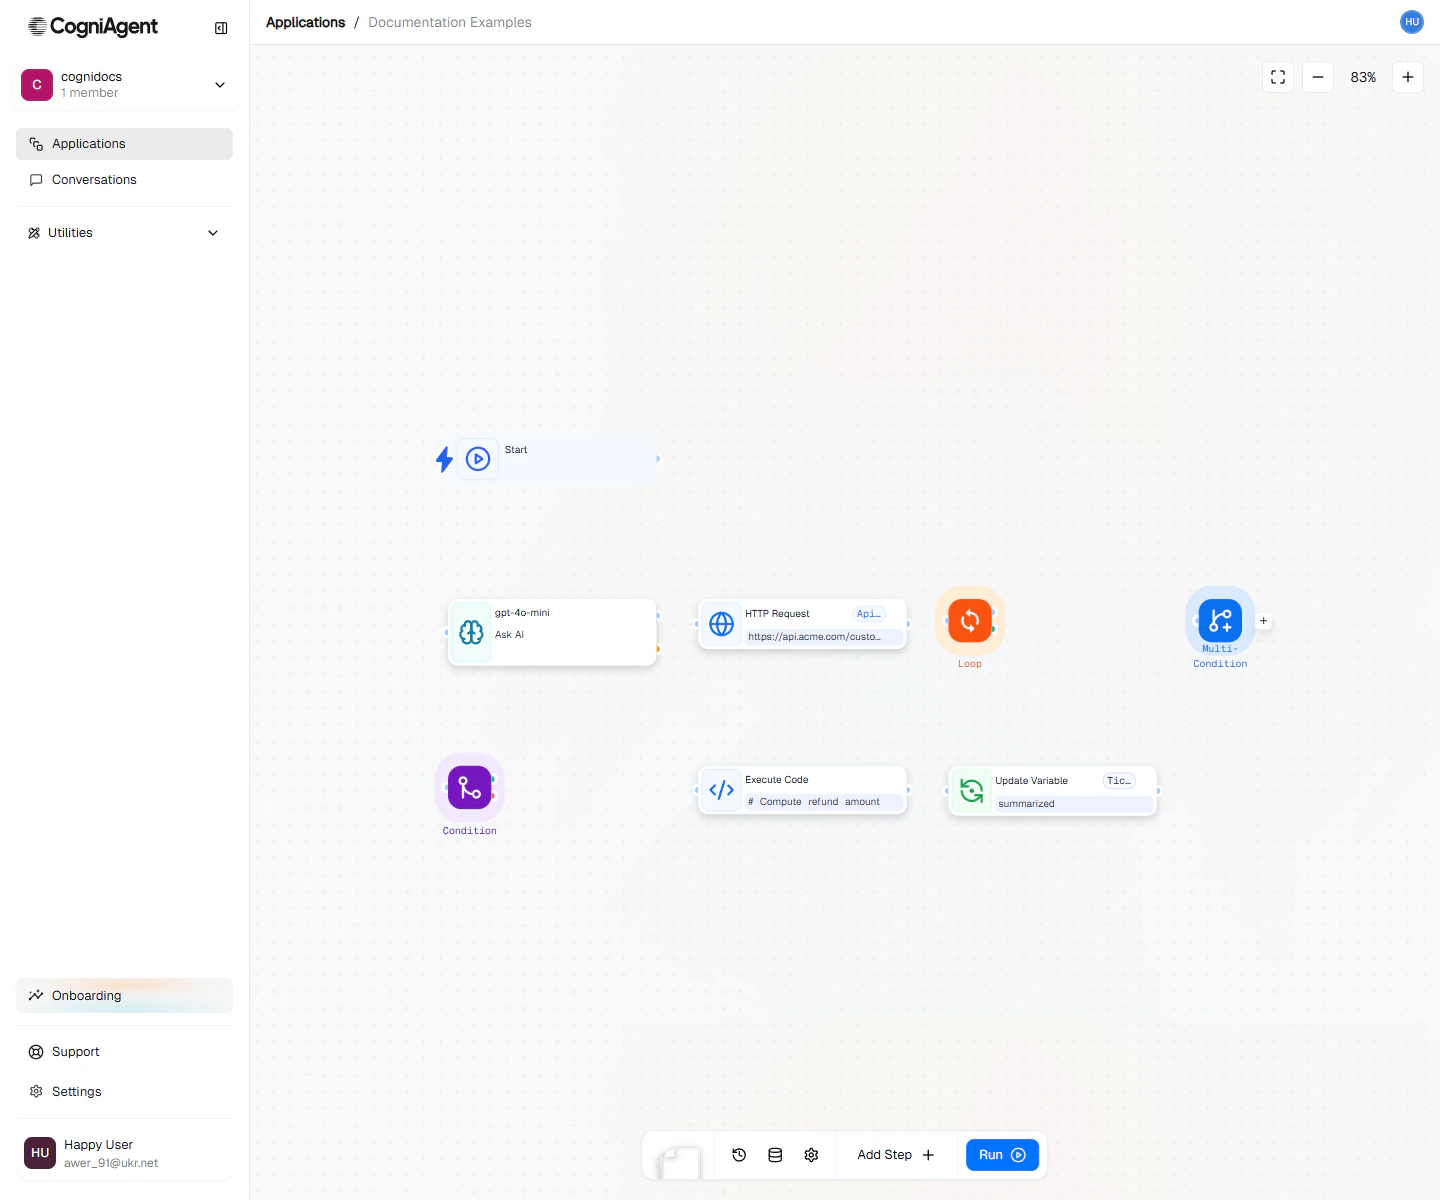 Nodes connect with lines to create a flow. Data moves from one node to the next, like an assembly line:
1. **Trigger nodes** kick things off and bring in the initial information
2. **Action nodes** do things with that information
3. **Logic nodes** decide what happens next based on rules you set
### Passing Information Between Nodes
Every node can use information from nodes that came before it. You use a simple format to grab that data:
```
{{node_name.output_name}}
```
For example, if you have an AI node that analyzes an email, you can use its response in the next node:
```
{{ask_ai_1.response}}
```
When you type `{{` in any text field, the editor shows you all the available information from previous nodes. No need to memorize anything!
## What Every Node Has
All nodes share these basic parts:
### Settings
* **Name** - What you call it (shown on the canvas so you can remember what it does)
* **Key** - A short code used behind the scenes (auto-created, but you can change it)
* **Description** - Optional notes for yourself about what this step does
### Connection Points
* **Left side** - Where lines from previous nodes connect
* **Right side** - Where lines to the next nodes connect
Trigger nodes only have a right-side connection since they're always first. Some decision nodes (like Condition) have multiple outputs for different paths.
### Configuration Panel
Click any node to see its settings on the right side of the screen. This is where you tell the node exactly what to do.
## Node Status Colors
When your workflow runs, nodes show their status with colors:
| Color | What It Means |
| ------------ | ----------------------- |
| Gray | Waiting to run |
| Spinning | Working on it right now |
| Green border | Finished successfully |
| Red border | Something went wrong |
## Next Steps
Learn about workflow triggers
Explore what your workflows can do
Master workflow logic and branching
Follow a hands-on tutorial
Nodes connect with lines to create a flow. Data moves from one node to the next, like an assembly line:
1. **Trigger nodes** kick things off and bring in the initial information
2. **Action nodes** do things with that information
3. **Logic nodes** decide what happens next based on rules you set
### Passing Information Between Nodes
Every node can use information from nodes that came before it. You use a simple format to grab that data:
```
{{node_name.output_name}}
```
For example, if you have an AI node that analyzes an email, you can use its response in the next node:
```
{{ask_ai_1.response}}
```
When you type `{{` in any text field, the editor shows you all the available information from previous nodes. No need to memorize anything!
## What Every Node Has
All nodes share these basic parts:
### Settings
* **Name** - What you call it (shown on the canvas so you can remember what it does)
* **Key** - A short code used behind the scenes (auto-created, but you can change it)
* **Description** - Optional notes for yourself about what this step does
### Connection Points
* **Left side** - Where lines from previous nodes connect
* **Right side** - Where lines to the next nodes connect
Trigger nodes only have a right-side connection since they're always first. Some decision nodes (like Condition) have multiple outputs for different paths.
### Configuration Panel
Click any node to see its settings on the right side of the screen. This is where you tell the node exactly what to do.
## Node Status Colors
When your workflow runs, nodes show their status with colors:
| Color | What It Means |
| ------------ | ----------------------- |
| Gray | Waiting to run |
| Spinning | Working on it right now |
| Green border | Finished successfully |
| Red border | Something went wrong |
## Next Steps
Learn about workflow triggers
Explore what your workflows can do
Master workflow logic and branching
Follow a hands-on tutorial