> ## Documentation Index
> Fetch the complete documentation index at: https://docs.cogniagent.ai/llms.txt
> Use this file to discover all available pages before exploring further.
# Quick Start
> Build your first CogniAgent workflow step by step
Get your first automation running in CogniAgent. This guide walks you through creating a simple workflow from scratch.
## What you'll build
A simple workflow you run manually. It starts with a **Start** trigger and uses an **Ask AI** action to generate a motivational quote. This teaches you the core concepts: applications, workflows, triggers, and actions.
## Prerequisites
* A CogniAgent account ([sign up here](https://cogniagent.ai))
* Access to the CogniAgent dashboard
## Step 1: Create an application
Log in to CogniAgent and navigate to the main dashboard.
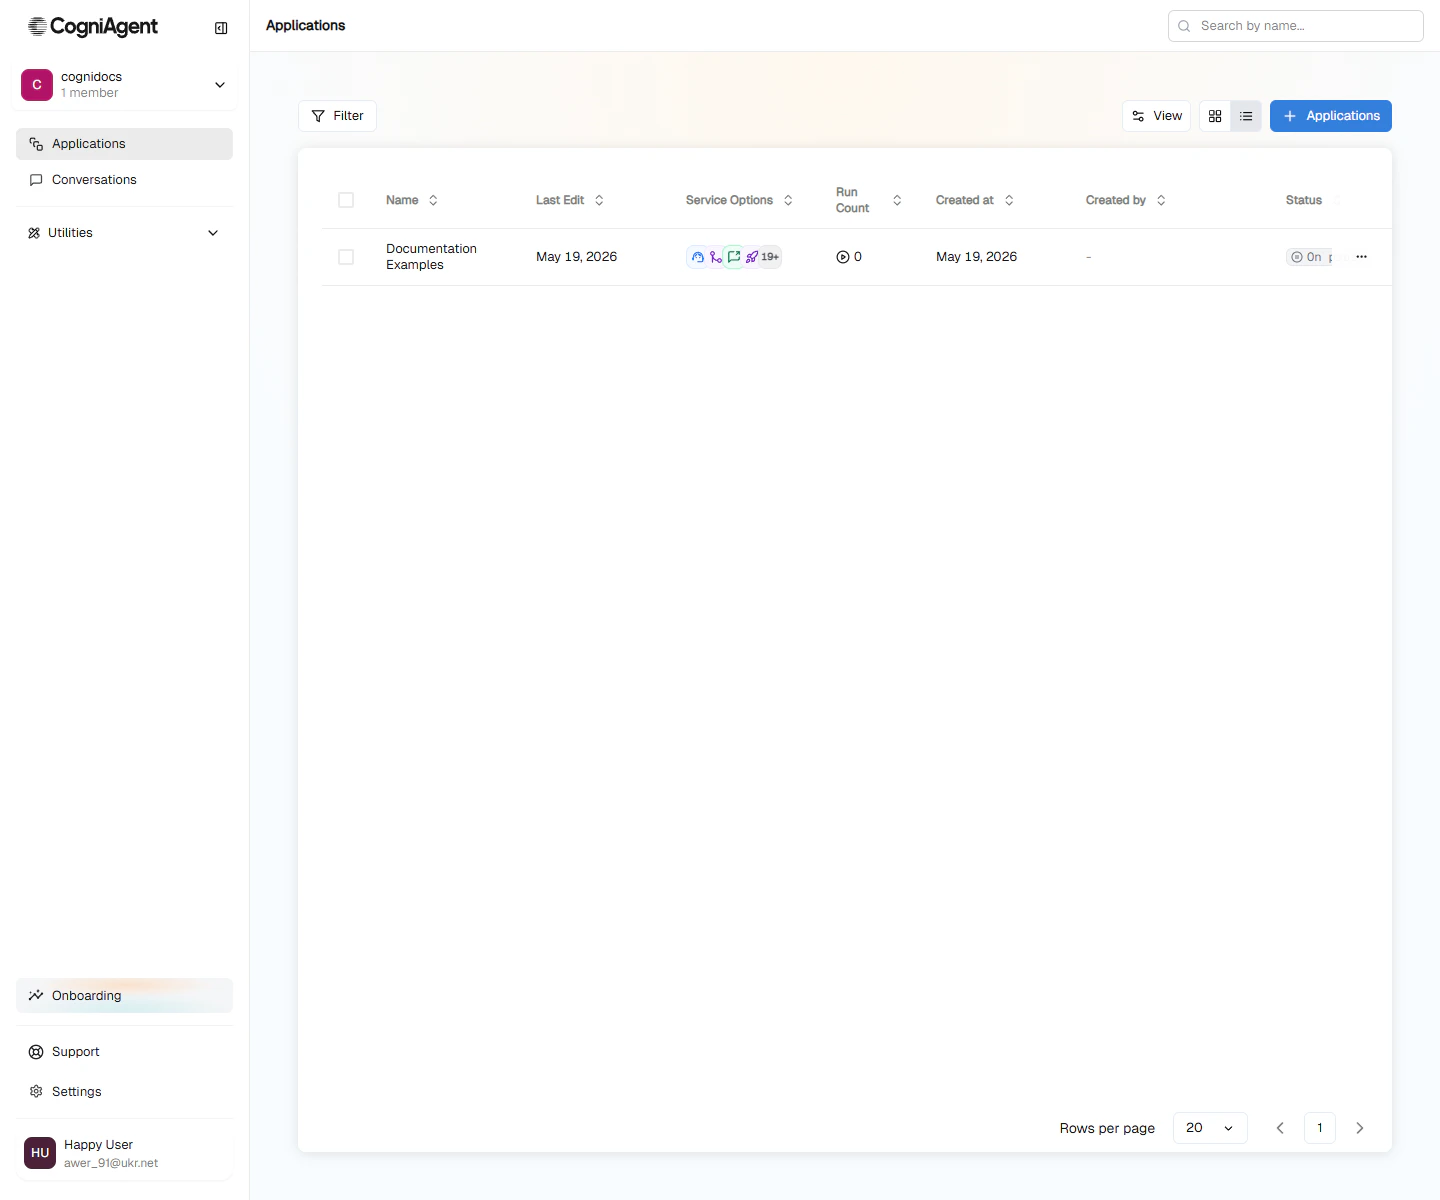 Find the "Create Application" button and click it.
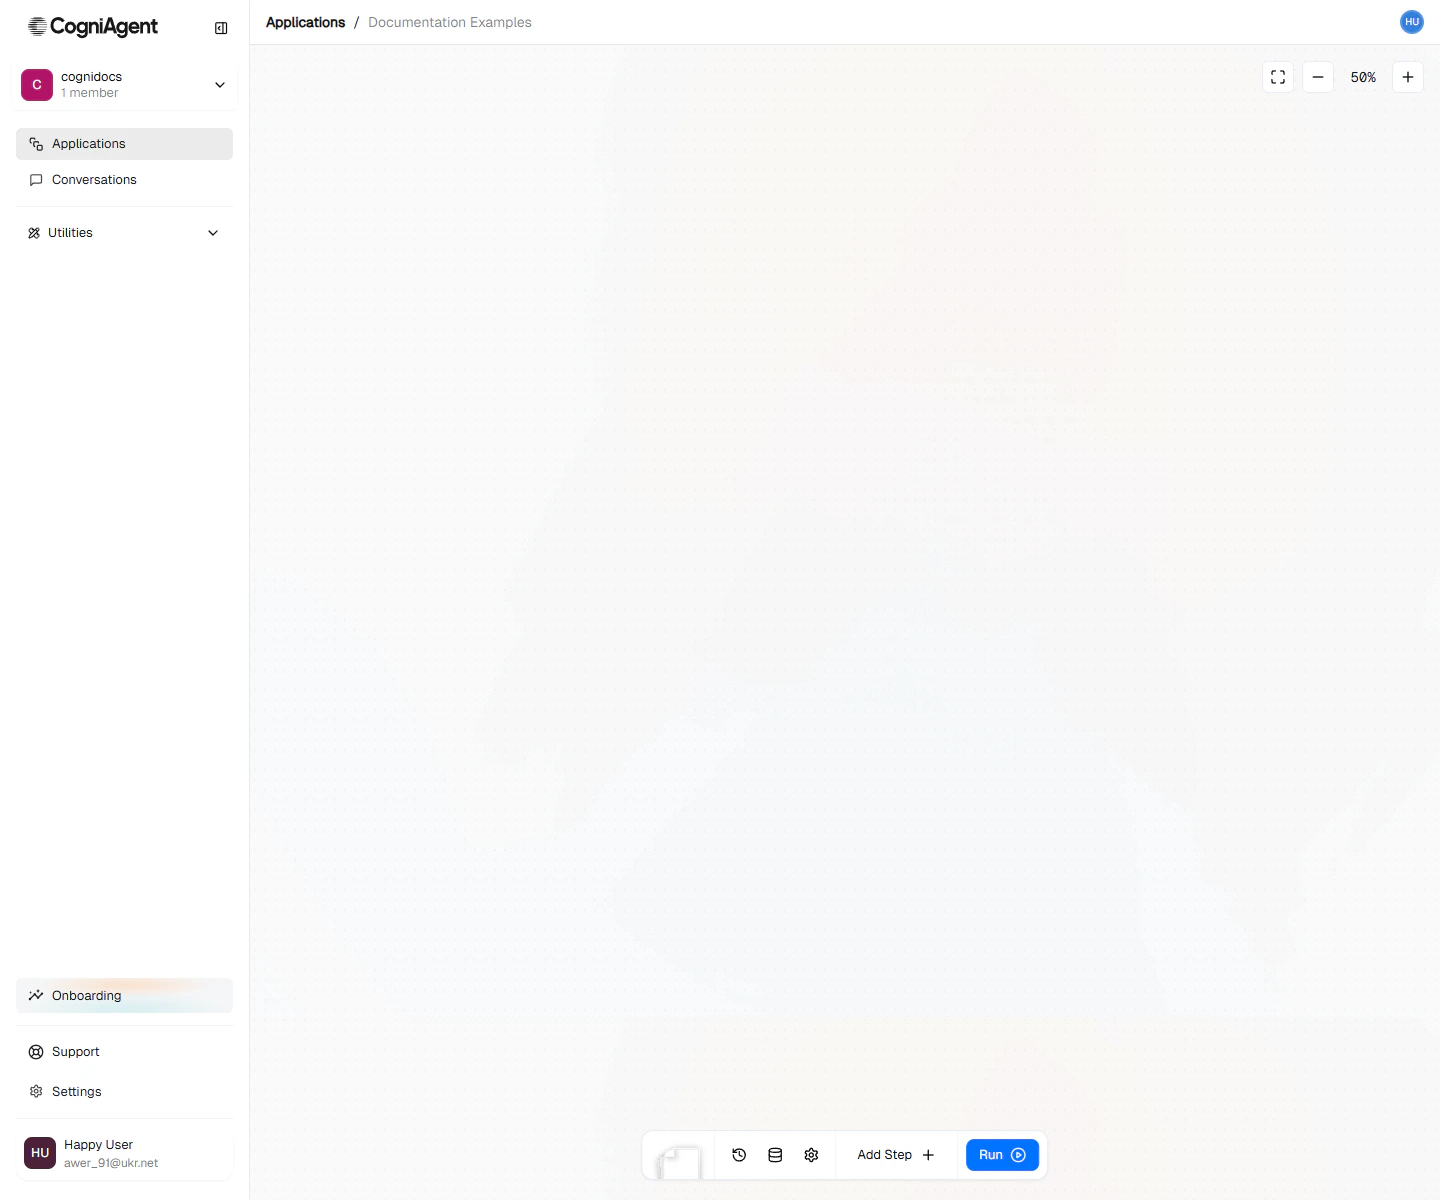
Give it a descriptive name like "My First Automation" and click Create. You'll land on a blank canvas.
Find the "Create Application" button and click it.
Give it a descriptive name like "My First Automation" and click Create. You'll land on a blank canvas.
 Use clear, descriptive names for your applications. You'll thank yourself later when you have multiple automations running.
## Step 2: Add a trigger
Triggers are events that start your workflow. Every workflow needs at least one trigger.
Click on your new application to open the workflow editor.
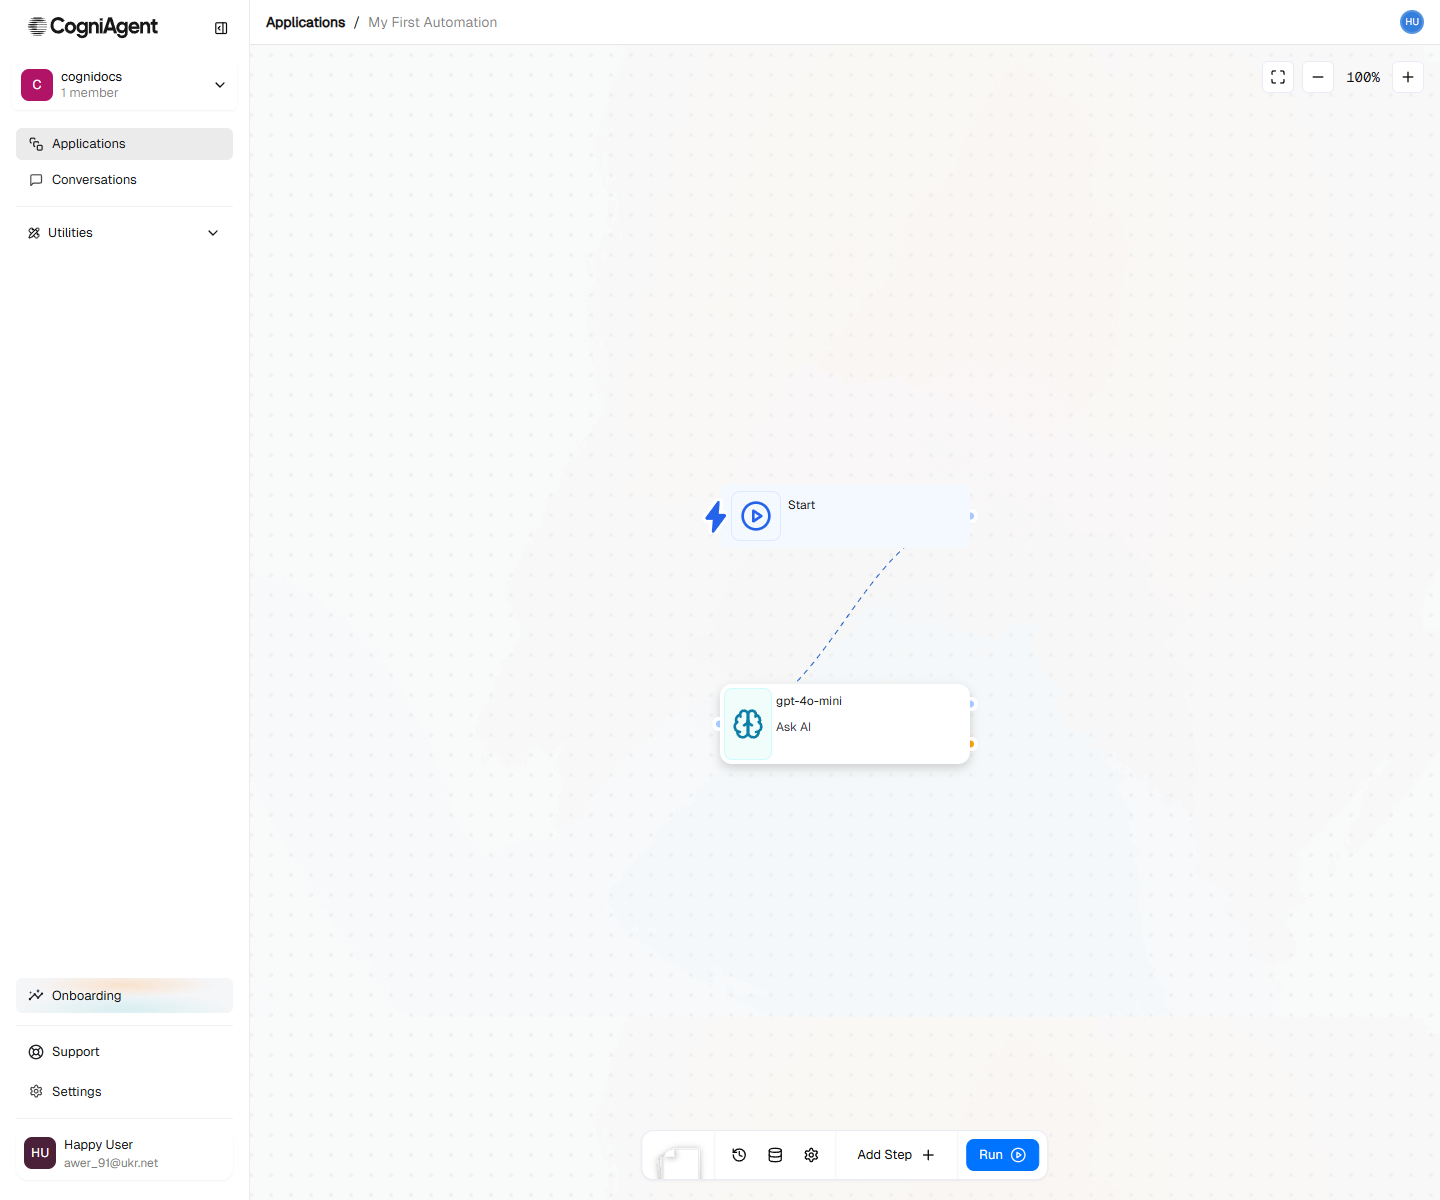
From the nodes panel, drag a **Start** trigger onto the canvas. This is the simplest trigger — it runs when you manually start the workflow.
### Other trigger types
| Trigger | When it fires |
| --------------------- | ----------------------------------------- |
| **Start** | When you manually run the workflow |
| **Scheduled Trigger** | On a schedule (hourly, daily, custom) |
| **App Trigger** | When something happens in a connected app |
| **Webhook** | When an external system sends a request |
| **AI Trigger** | When AI detects a specific condition |
## Step 3: Add an action
Actions are the tasks your workflow performs. Let's add a simple one.
Drag an **Ask AI** action onto the canvas and connect it to your Start trigger.
In the node settings, enter a prompt like: "Generate a motivational quote for the day."
The Ask AI node sends your prompt to an AI model and returns the response. You can use this response in subsequent nodes.
Use clear, descriptive names for your applications. You'll thank yourself later when you have multiple automations running.
## Step 2: Add a trigger
Triggers are events that start your workflow. Every workflow needs at least one trigger.
Click on your new application to open the workflow editor.
From the nodes panel, drag a **Start** trigger onto the canvas. This is the simplest trigger — it runs when you manually start the workflow.
### Other trigger types
| Trigger | When it fires |
| --------------------- | ----------------------------------------- |
| **Start** | When you manually run the workflow |
| **Scheduled Trigger** | On a schedule (hourly, daily, custom) |
| **App Trigger** | When something happens in a connected app |
| **Webhook** | When an external system sends a request |
| **AI Trigger** | When AI detects a specific condition |
## Step 3: Add an action
Actions are the tasks your workflow performs. Let's add a simple one.
Drag an **Ask AI** action onto the canvas and connect it to your Start trigger.
In the node settings, enter a prompt like: "Generate a motivational quote for the day."
The Ask AI node sends your prompt to an AI model and returns the response. You can use this response in subsequent nodes.
 ## Step 4: Run your workflow
Click the Save button to save your changes.
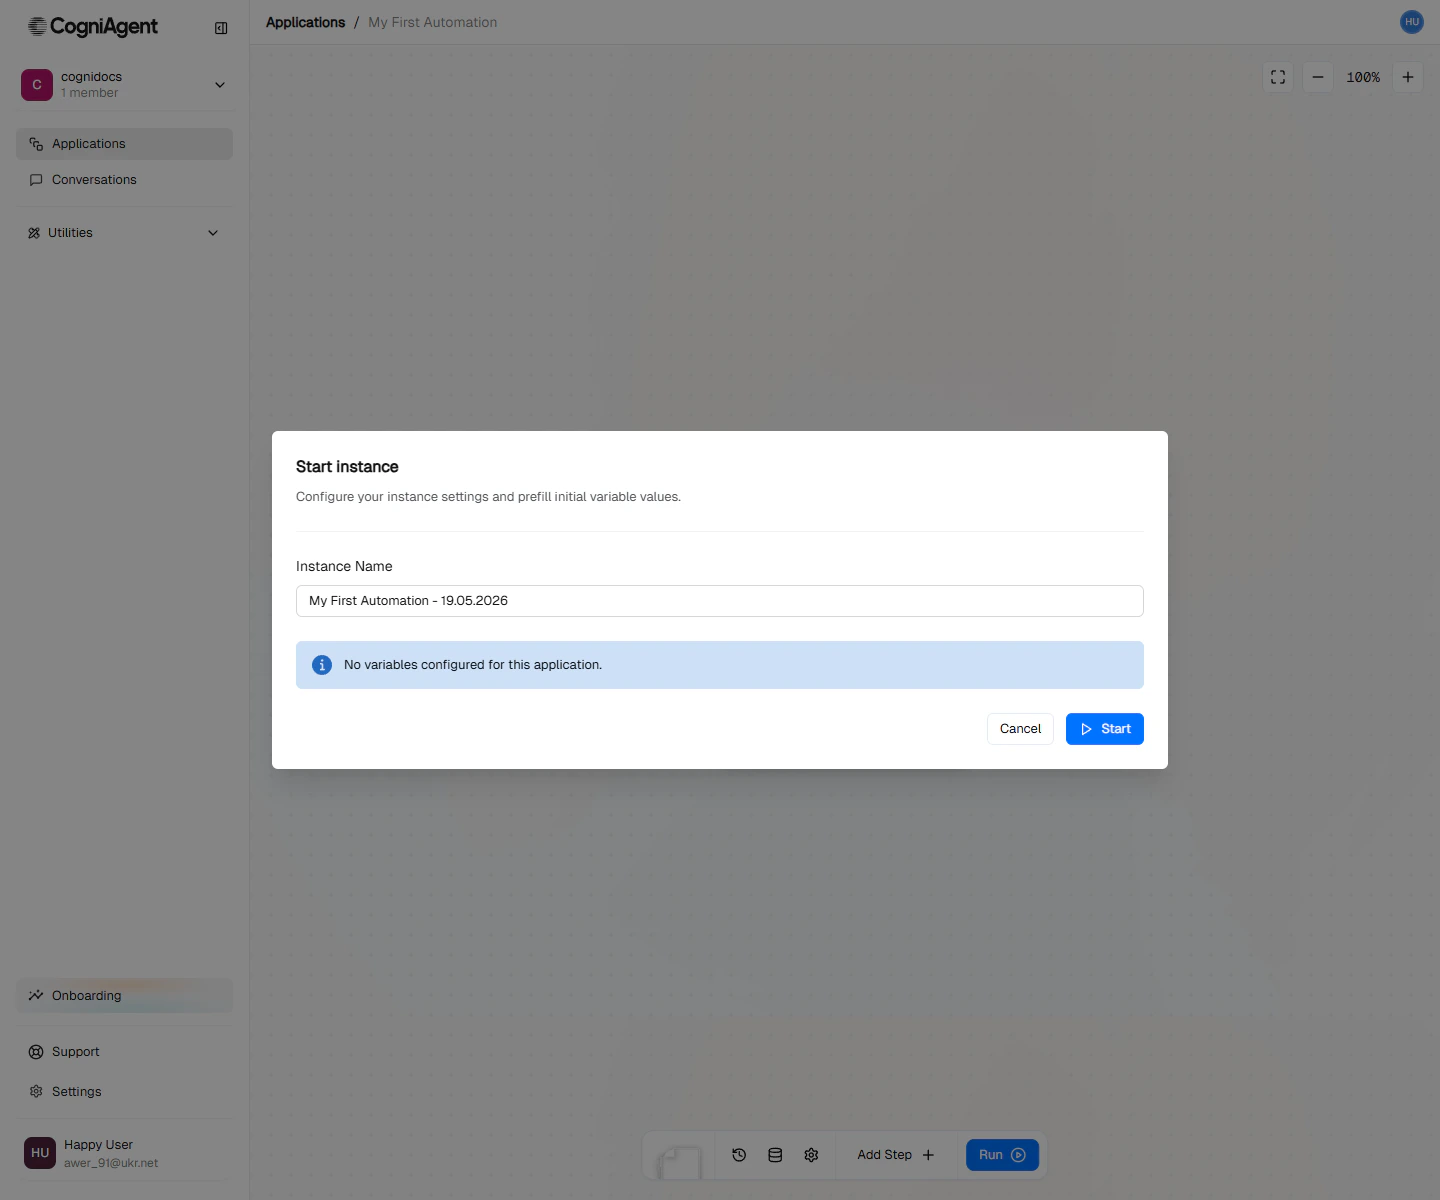
Click the Run button to execute your workflow. A small dialog confirms the start — click **Start**.
## Step 4: Run your workflow
Click the Save button to save your changes.
Click the Run button to execute your workflow. A small dialog confirms the start — click **Start**.
 Open the execution history to see what happened. You'll see each node that ran and its output.
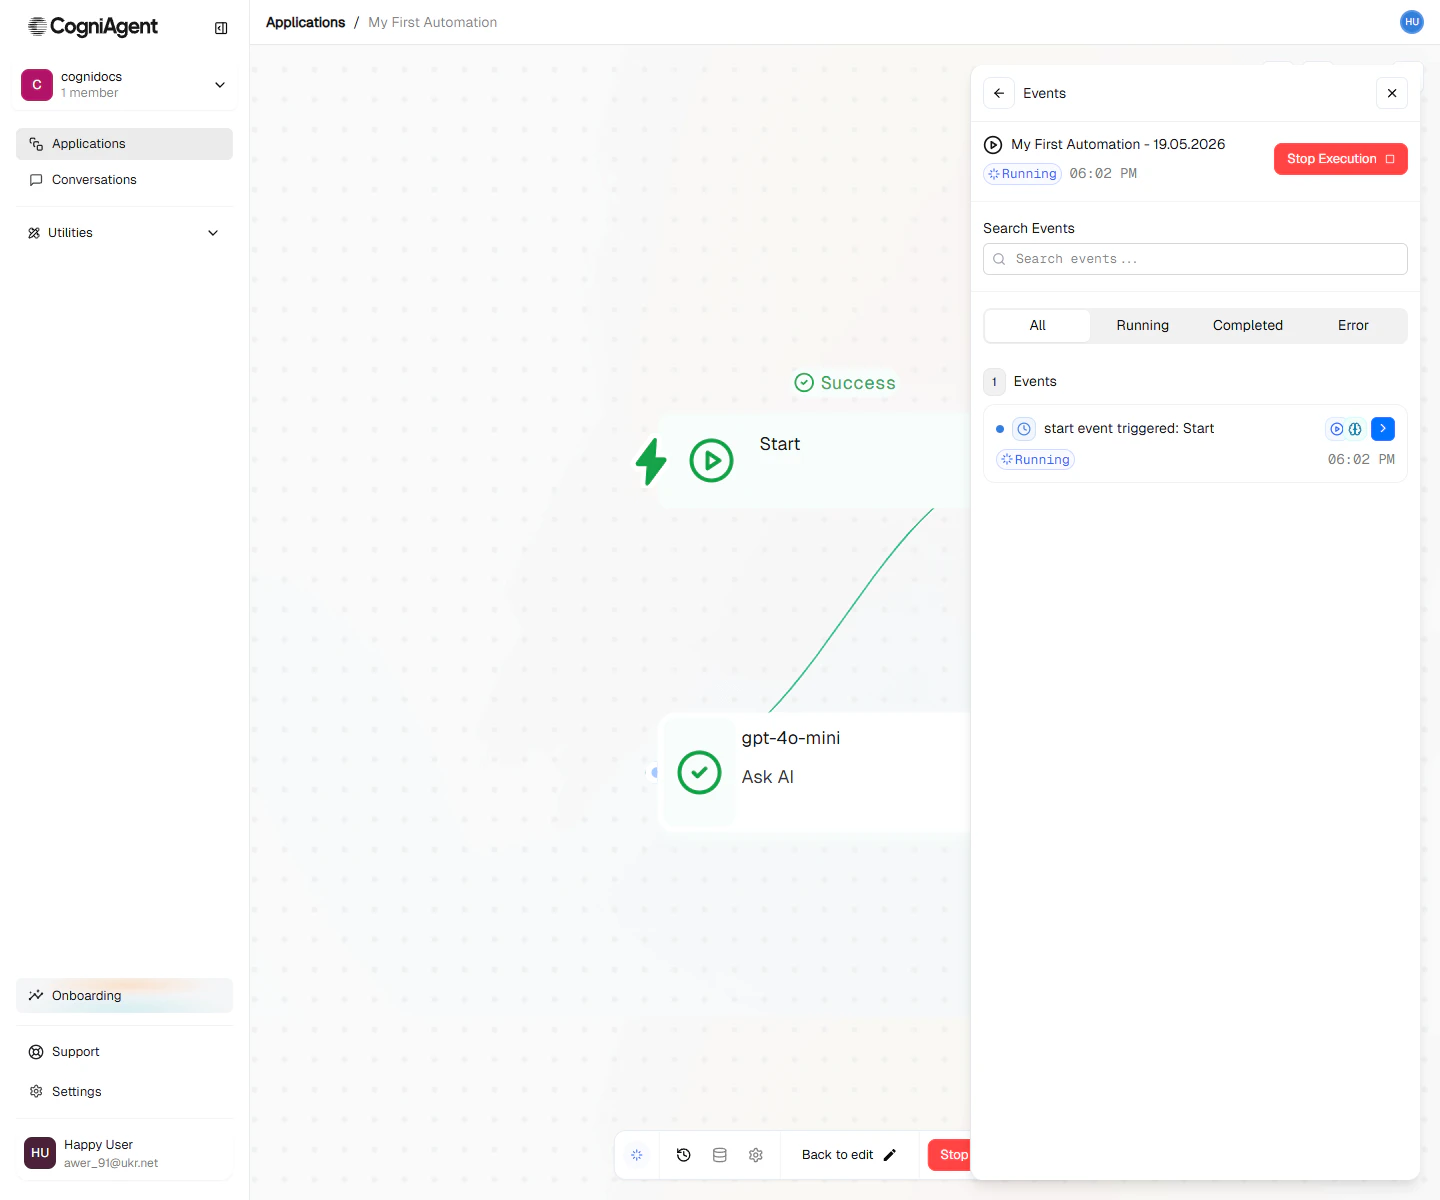 You've built and run your first CogniAgent workflow.
## Bonus: schedule it
Once your workflow works end-to-end, you can run it automatically:
1. Add a [Scheduled Trigger](/nodes/triggers/scheduled-trigger) node.
2. Connect it to the same **Ask AI** node.
3. Configure when it should run (daily, weekly, cron, etc.), then save.
If you want the result sent somewhere, add an [App Action](/nodes/actions/app-action) node after **Ask AI** (for example, post to Slack or send an email).
## What's next?
Now that you understand the basics, explore these topics:
Skip the dashboard — let Claude or Cursor build and operate workflows for you by chatting.
Learn about triggers, actions, and logic in depth.
Discover all the nodes available in CogniAgent.
Follow a complete example with real-world use case.
Learn the terminology used throughout CogniAgent.
## Common questions
Check that all nodes are properly connected. Every node needs an input connection (except triggers) and workflows need at least one trigger.
Yes. Make your changes and save. The next run will use the updated workflow.
Each node's output is available to subsequent nodes. See [Passing Information Between Nodes](/nodes/overview#passing-information-between-nodes) for details.
You've built and run your first CogniAgent workflow.
## Bonus: schedule it
Once your workflow works end-to-end, you can run it automatically:
1. Add a [Scheduled Trigger](/nodes/triggers/scheduled-trigger) node.
2. Connect it to the same **Ask AI** node.
3. Configure when it should run (daily, weekly, cron, etc.), then save.
If you want the result sent somewhere, add an [App Action](/nodes/actions/app-action) node after **Ask AI** (for example, post to Slack or send an email).
## What's next?
Now that you understand the basics, explore these topics:
Skip the dashboard — let Claude or Cursor build and operate workflows for you by chatting.
Learn about triggers, actions, and logic in depth.
Discover all the nodes available in CogniAgent.
Follow a complete example with real-world use case.
Learn the terminology used throughout CogniAgent.
## Common questions
Check that all nodes are properly connected. Every node needs an input connection (except triggers) and workflows need at least one trigger.
Yes. Make your changes and save. The next run will use the updated workflow.
Each node's output is available to subsequent nodes. See [Passing Information Between Nodes](/nodes/overview#passing-information-between-nodes) for details.