
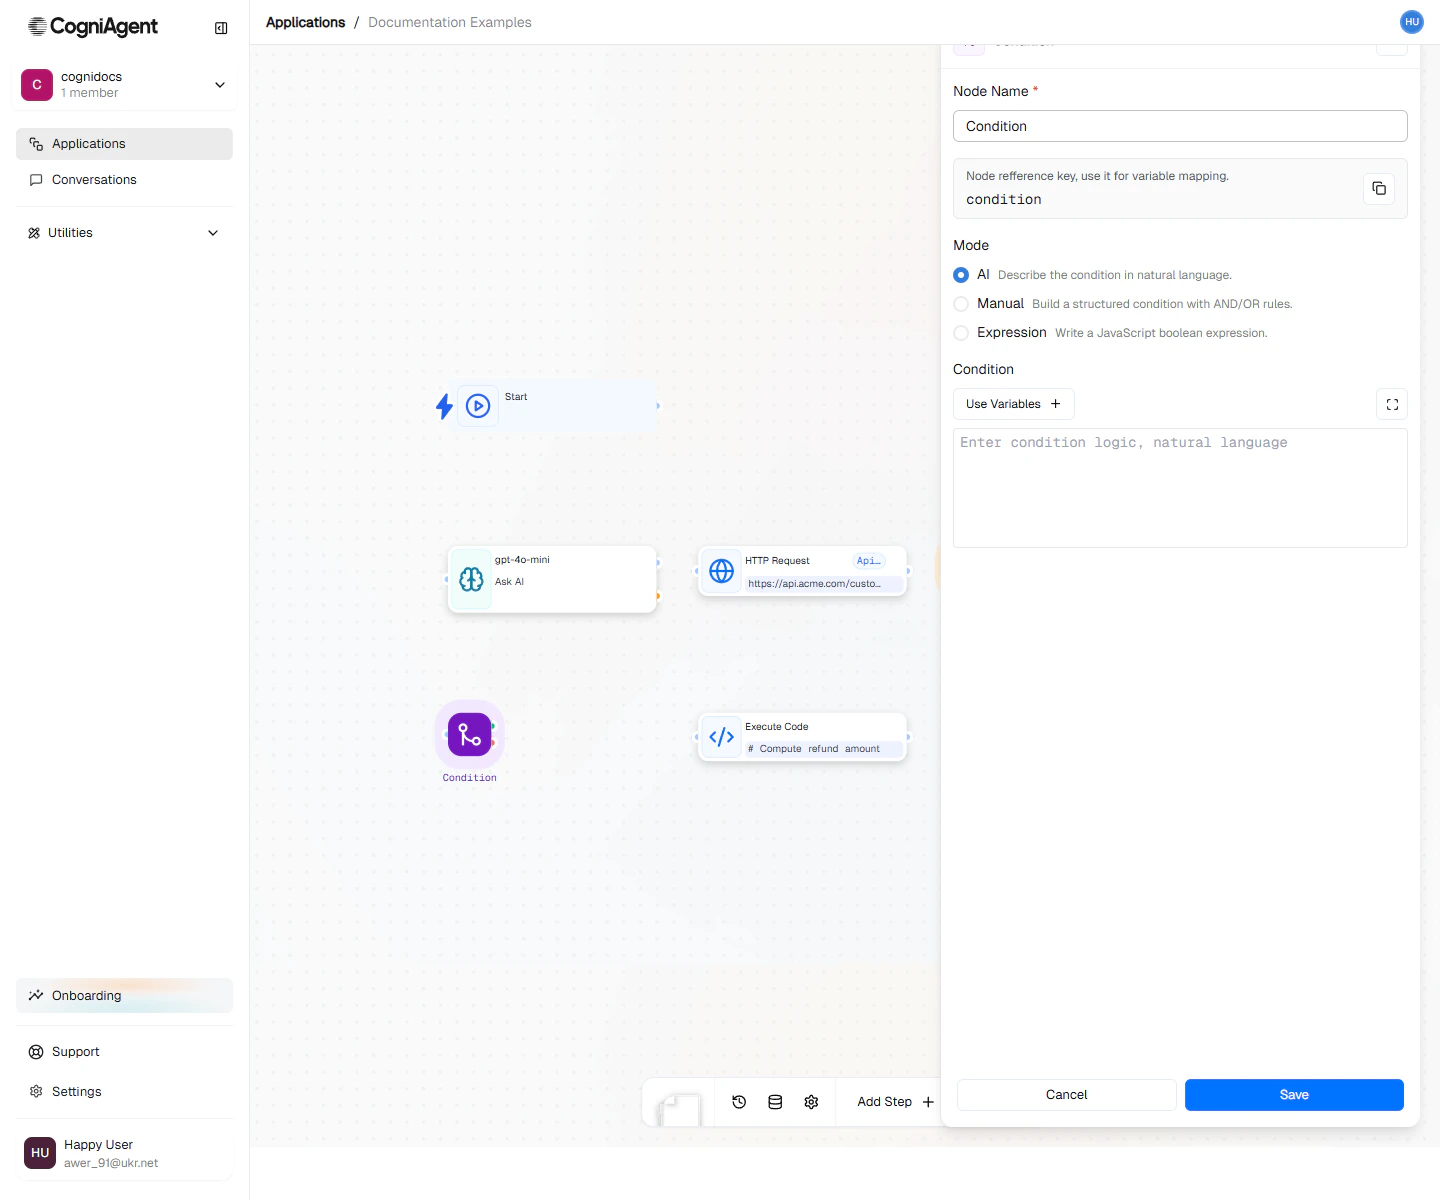
If / else configuration — build the check with dropdowns or write an expression.
When to Use
- Checking data - Make sure something looks right before continuing
- Making decisions - Do different things based on what happened
- Handling errors - Check if something worked, handle it if not
- Filtering - Only process things that match certain criteria
Three ways to set up conditions
Manual Mode (Easiest - No Code)
Just pick from dropdown menus:- Choose what to check (like the email subject)
- Choose how to check it (contains, equals, greater than, etc.)
- Enter what you’re looking for
Expression Mode (More Flexible)
Type a formula. Useful when you need to check multiple things:- Comparisons:
==(equals),!=(not equals),>,<,>=,<= - Logic:
AND,OR,NOT - Parentheses:
( )to group things
AI Mode (Let AI Decide)
Just describe what you’re looking for in plain English:AI mode takes 1-3 seconds to think. Use manual or expression mode when you can for faster results.
Example: Lead Qualification
Route leads based on score:1
Score the lead
Use an LLM node to analyze lead data and return a score 0-100.
2
Add the condition
Add an If / else node:
- Mode: expression
- Expression:
{{llm_1.response.score}} >= 70
3
Connect both paths
- Met → Integration Action (add to “Hot Leads” in CRM)
- Unmet → Integration Action (add to “Nurture” campaign)
Example: Error Handling
Check if an API call succeeded:- Mode: expression
- Expression:
{{http_request_1.statusCode}} == 200 AND {{http_request_1.success}} == true
Example: Content Filtering
Only process emails that meet criteria:- Group 1 (AND):
{{event_from_app_1.email.from}}NOT containsnoreply{{event_from_app_1.email.subject}}NOT starts withRe:{{event_from_app_1.email.subject}}NOT starts withFwd:
Combining Conditions
AND Logic (all must be true)
Manual mode: Add rules to the same group Expression mode:OR Logic (any can be true)
Manual mode: Create multiple groups Expression mode:Complex Logic
Use parentheses in expression mode:Nested Conditions
Chain conditions for complex decision trees:Tips
Settings
string
default:"If / else"
What to call this node (shown on the canvas).
string
default:"condition_1"
A short code to reference this node’s result.
string
default:"manual"
How to set up your condition:
- manual - Choose from dropdowns (easiest, no code needed)
- expression - Type a formula like
{{score}} > 80 - ai - Describe it in plain English and let AI figure it out
object
For manual mode: the rules you’ve set up.
string
For expression mode: your formula.
string
For AI mode: your plain English description.
Outputs
The If / else step has two outputs:handle
Green (Yes) - Goes here when the condition is true.
handle
Red (No) - Goes here when the condition is false.
boolean
True or false - you can use this value in later nodes.
Related Nodes
Switch
For multi-way branching with more than two paths.
Wait and Combine
Rejoin branches after conditional splits.