
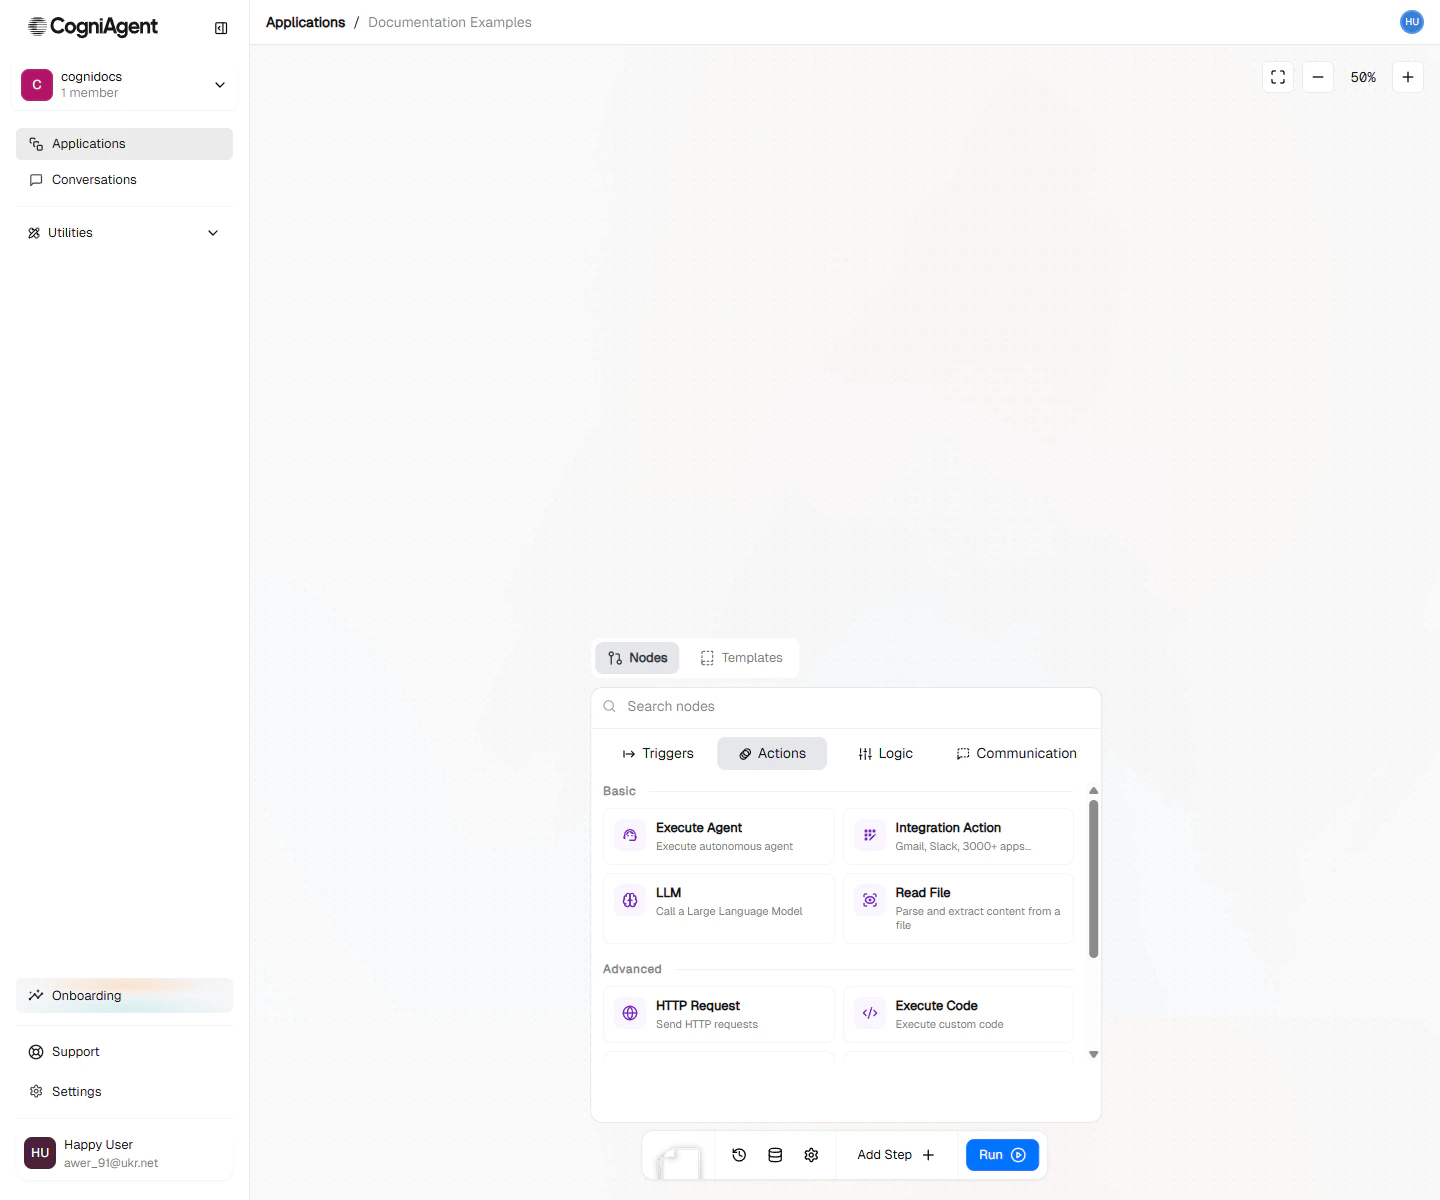
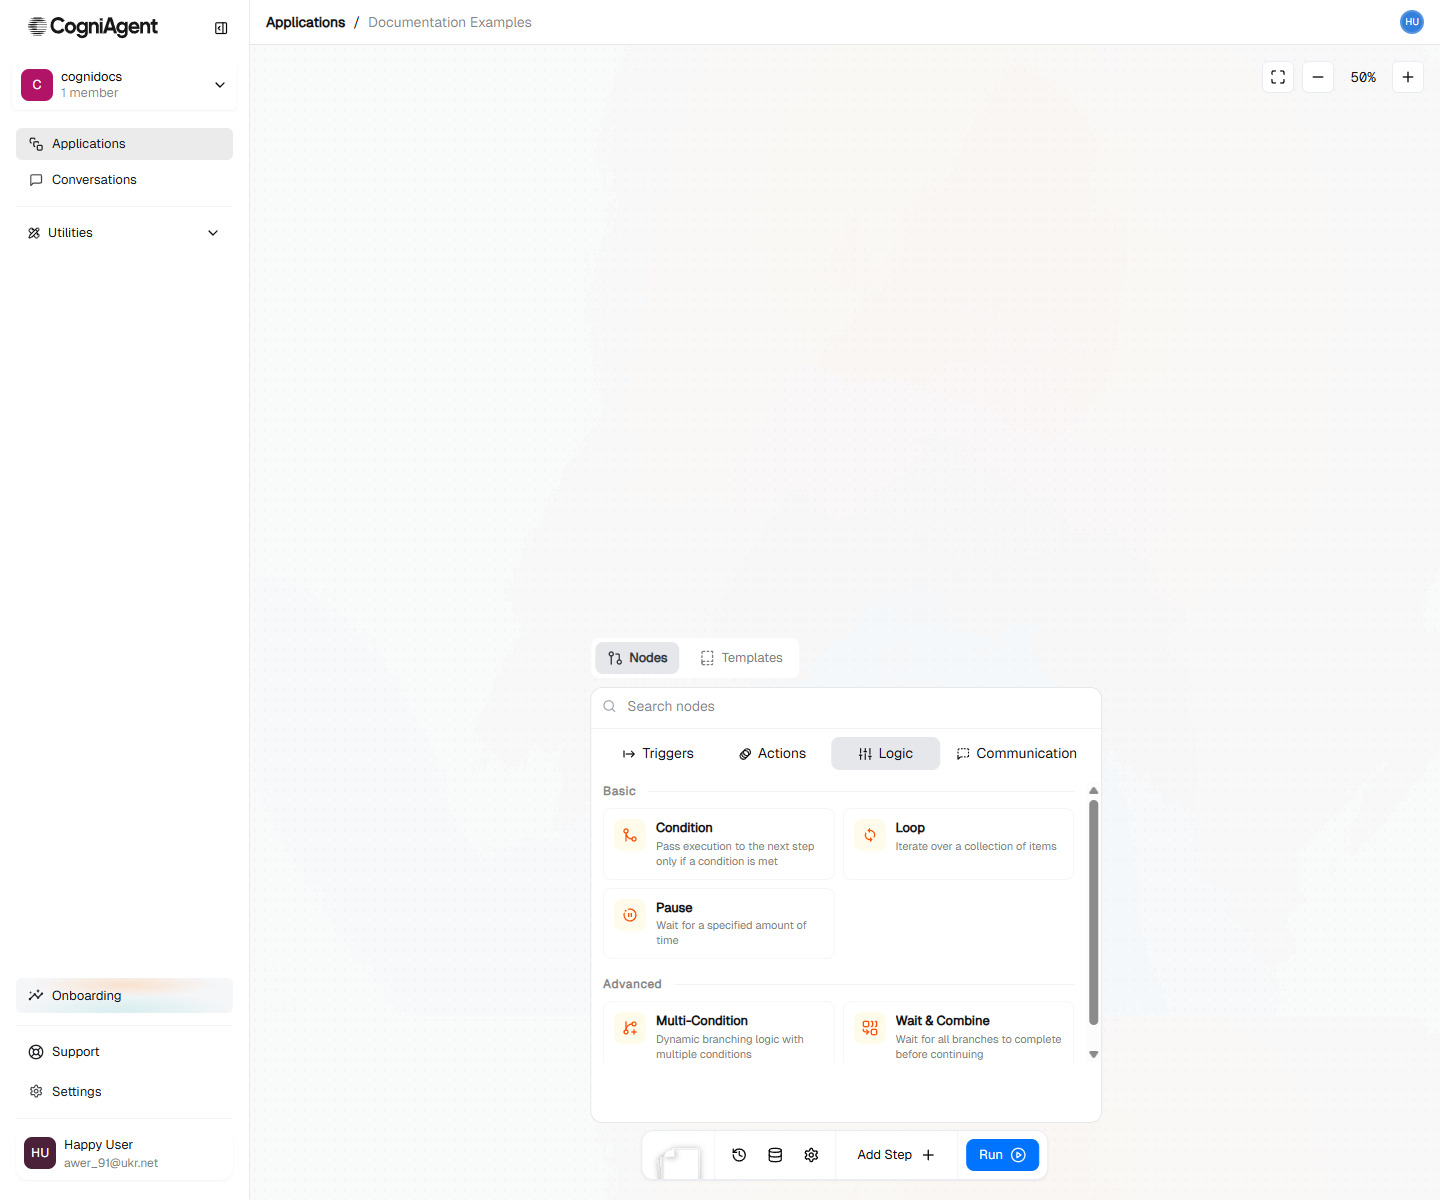
1. Open the node selector
Click the Create first node button in the center of the canvas (or Add Step in the bottom toolbar). This opens a menu of node types grouped into triggers, actions, and logic.- Triggers
- Actions
- Logic
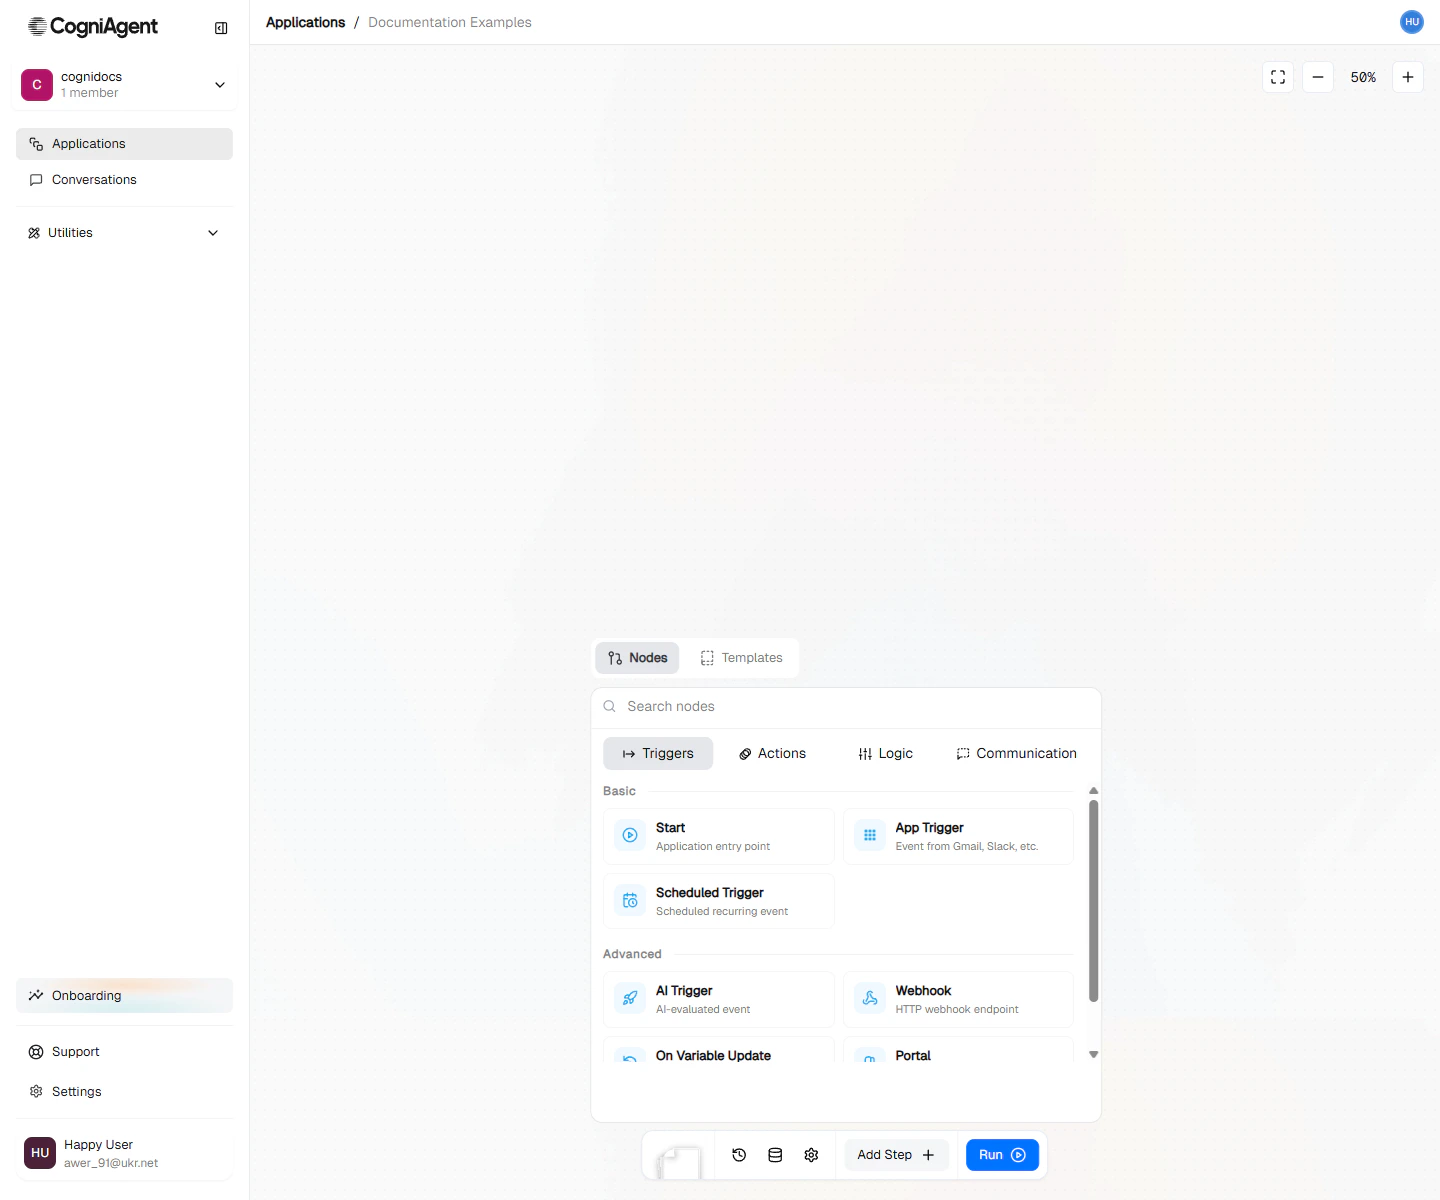
Triggers tab — pick how the workflow should start.
2. Choose a starting trigger
Pick one based on how you want the workflow to start:
Once your trigger is on the canvas, connect it to your next node to keep building the workflow.
Trigger nodes
Learn every way to start workflows.
Action nodes
Do the work: AI, apps, HTTP requests, files, and more.
Logic nodes
Branch, loop, pause, and wait for approvals.
3. Pass data between nodes
A crucial concept in CogniAgent is that each node can access the output variables generated by all preceding nodes in the workflow. This ensures continuous, logical data movement.To access data from a previous step, use the format:
{{node_key.output_name}}