
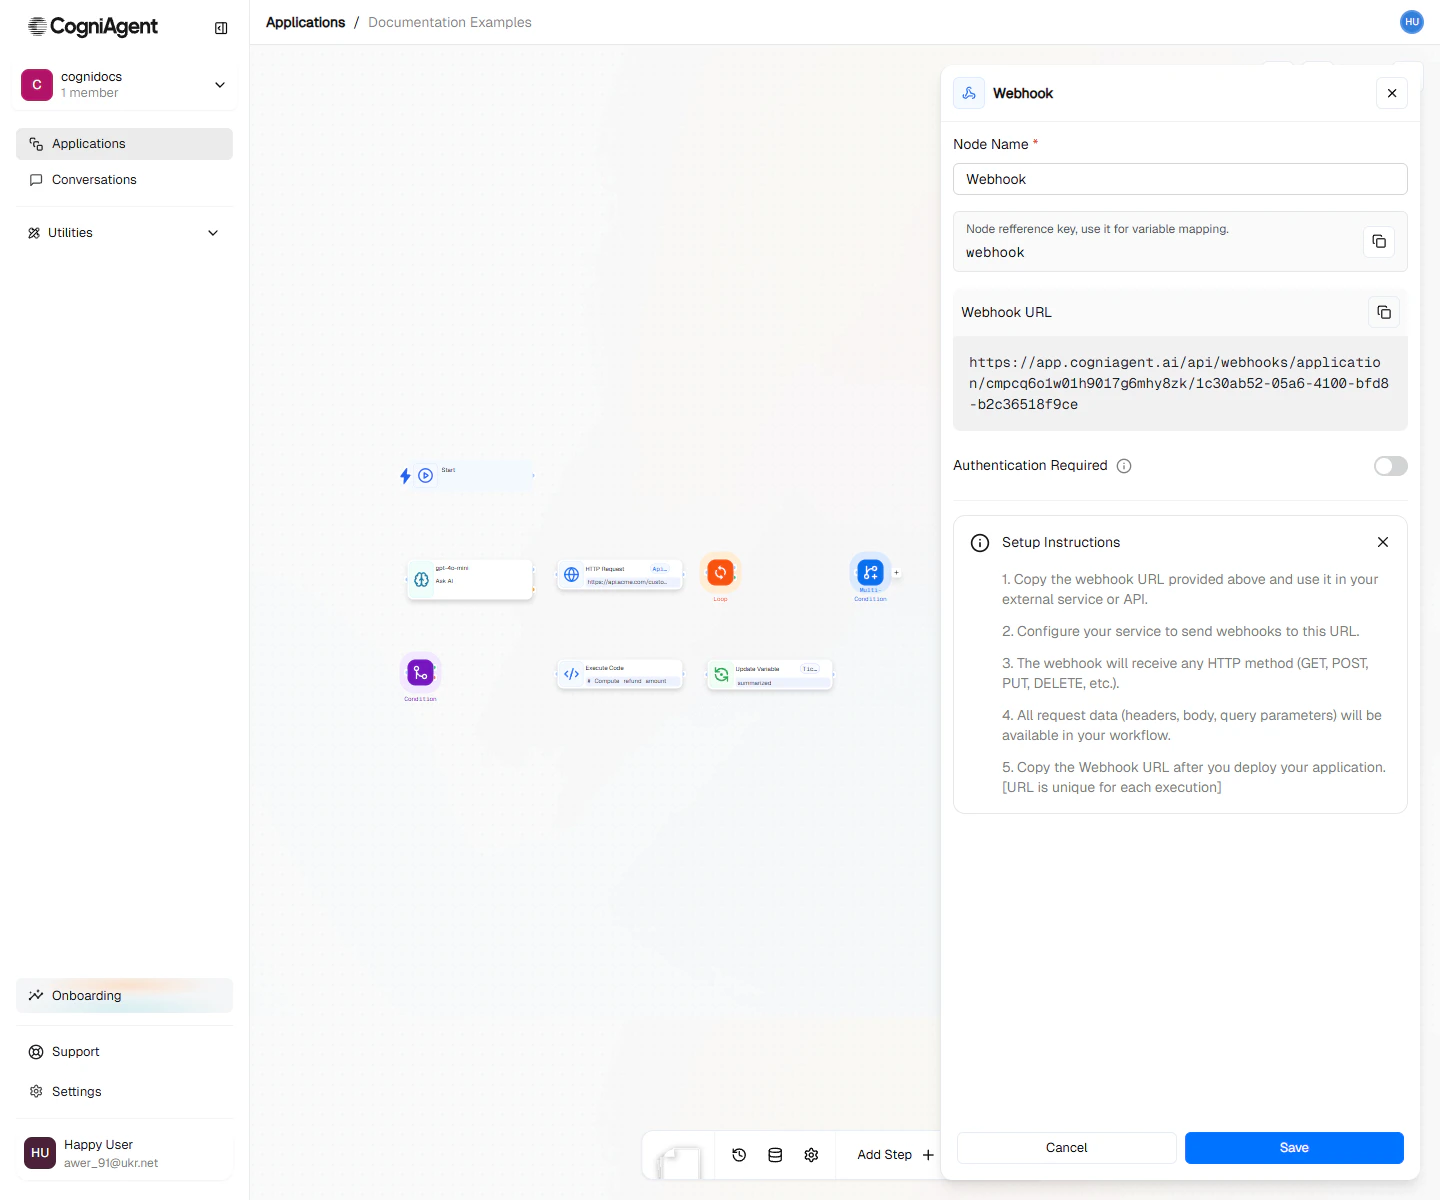
Webhook configuration — CogniAgent generates the URL and shows the expected payload shape.
When to Use
- Form submissions - When someone fills out a form on your website, Typeform, or survey
- Connecting other apps - When apps like Zapier or Make need to trigger your workflow
- Your own software - When your website or app needs to kick off a workflow
- Automation platforms - When you want to connect tools that aren’t directly integrated
Getting Your Webhook Address
After adding a Webhook node:- Save your workflow
- Click the Webhook node to see its settings
- Copy the web address from the Webhook URL field
Example: Form Submission Handler
Process contact form submissions and send them to your team:1
Create the webhook trigger
Add a Webhook node configured for POST requests.
2
Process the submission
Connect to an Ask AI node that categorizes the inquiry:
3
Route to the right team
Use a Multi-Condition node to route based on the AI’s categorization, sending notifications to different Slack channels.
Expected Request Body
Calling the Webhook
Example: GitHub Integration
Trigger a workflow when new issues are created:Response Modes
Immediate Response
Returns immediately with a confirmation:Last Node Response
Waits for the workflow to complete and returns the output of the final node. Use this when:- The caller needs the processed result
- Building synchronous API integrations
- Forms that should display a confirmation message
Last node response mode has a timeout. For long-running workflows, use immediate mode and provide a callback webhook or polling endpoint.
Keeping Your Webhook Secure
- Validate incoming data - Check that requests contain expected fields before processing
- Use a webhook secret - Include a secret token in requests and verify it in your workflow
- Rate limiting - CogniAgent includes built-in rate limiting to prevent abuse
Using a Webhook Secret
Require a secret token to verify requests are legitimate:Tips
Settings
string
default:"Webhook"
What to call this node (shown on the canvas).
string
default:"webhook_1"
A short code to reference this node’s data.
string
default:"POST"
How data is sent to you. Usually POST (the default) works fine.
string
default:"immediate"
What to send back to whoever triggered the webhook:
- immediate - Say “got it!” right away
- lastNode - Wait for the workflow to finish, then send back the result
Outputs
object
The main data that was sent (form fields, JSON data, etc.).
object
Extra information that came with the request (usually not needed).
object
Values from the web address (like
?userId=123 gives you userId: "123").string
How the data was sent (GET, POST, etc.).
Related Nodes
HTTP Request
Make outgoing HTTP requests to other services.
Condition
Validate webhook data before processing.