
When to use it
- Visitors should be able to chat without logging in.
- You want a branded chat bubble on your marketing site or in-app.
- You want voice support (optional) alongside text.
1. Add the Widget channel
Open the flow, click Flow settings in the bottom toolbar, then the Channels tab. Click Add Channel and pick Widget.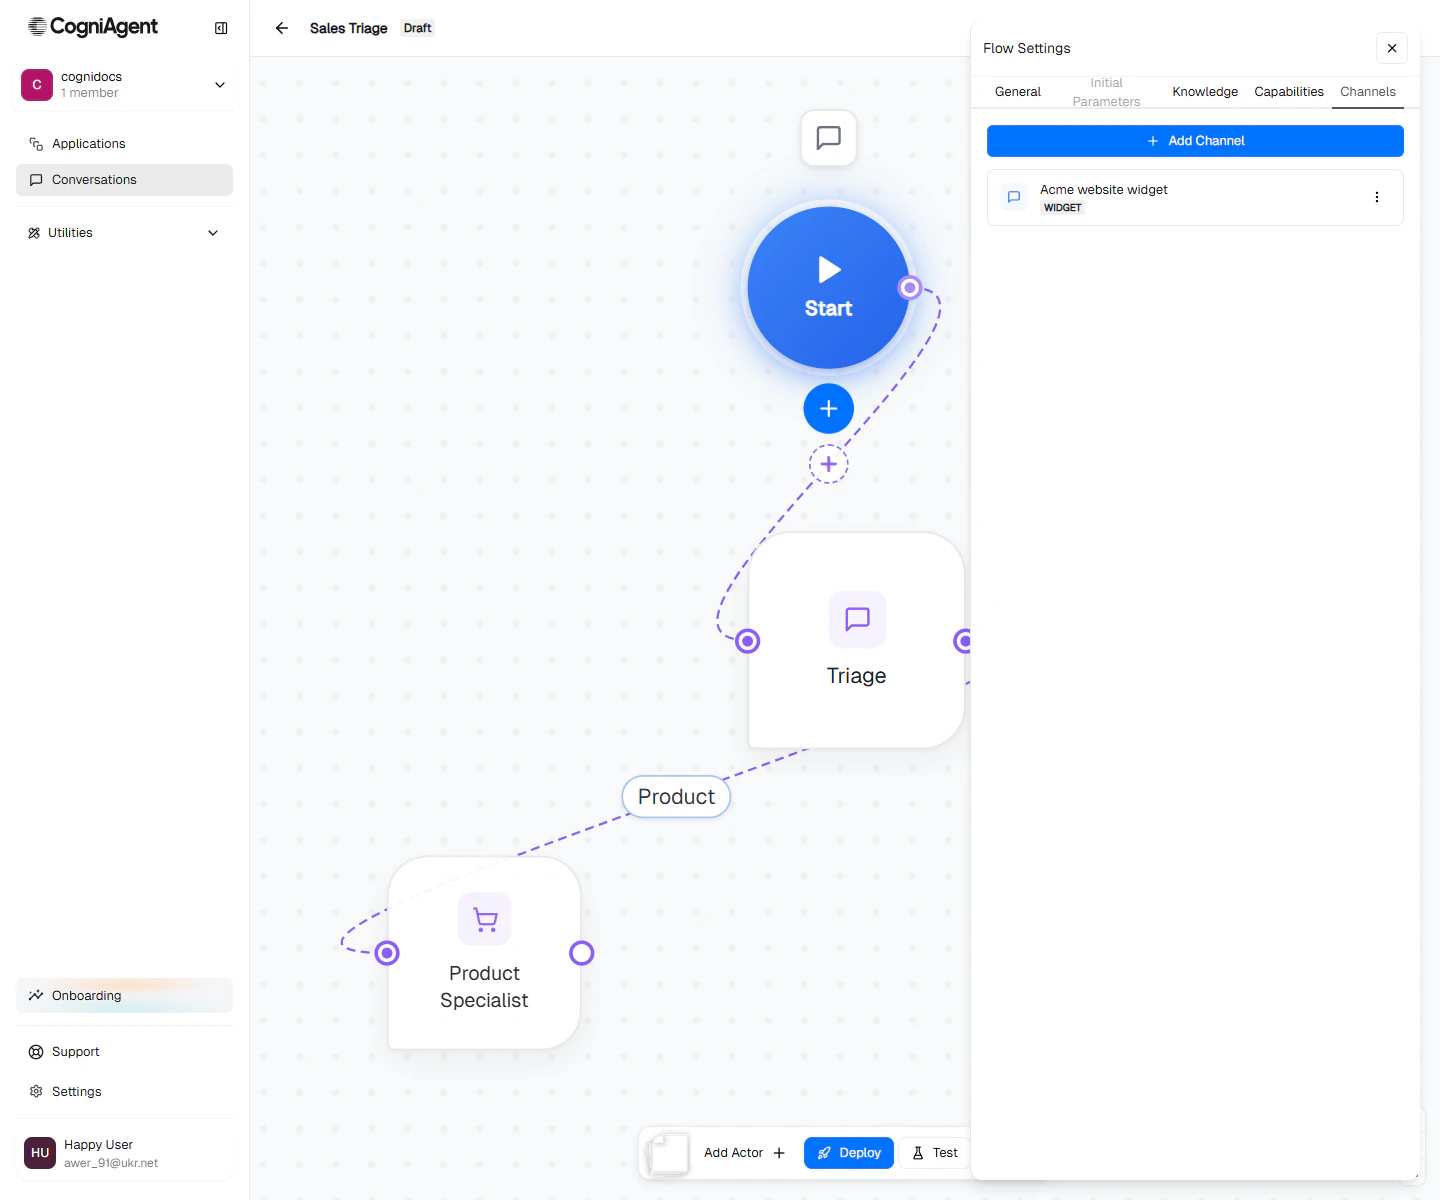
Flow settings → Channels. The Sales Triage flow has one widget channel configured.
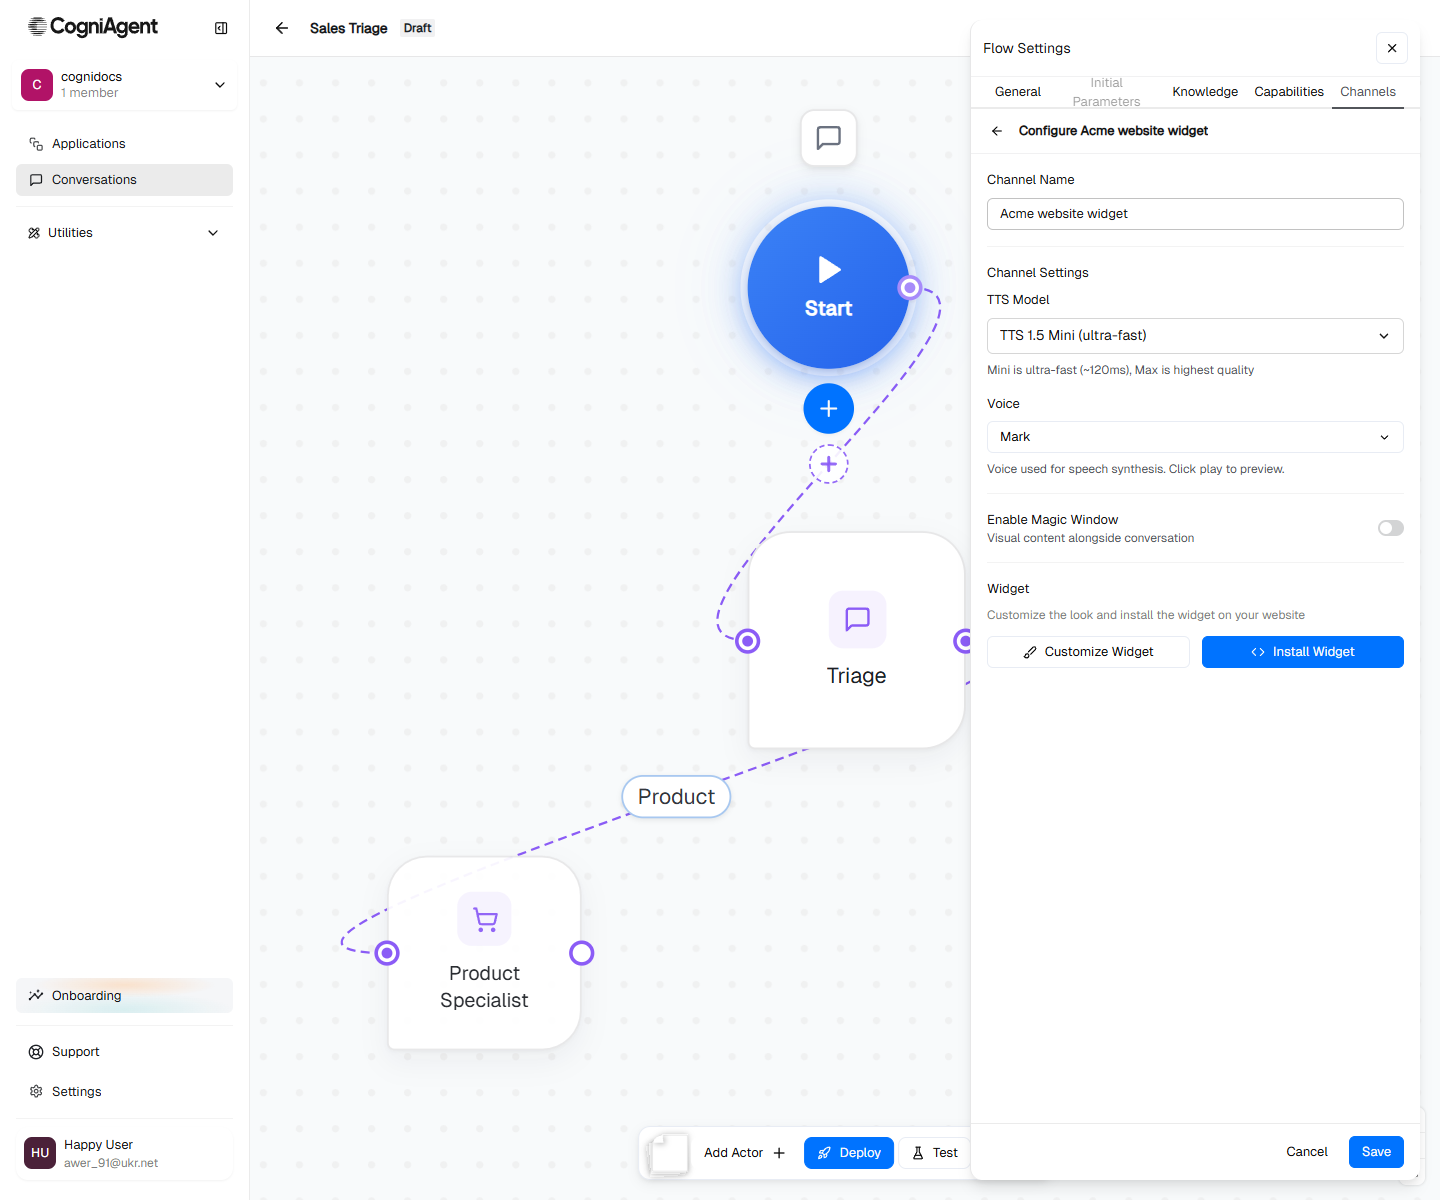
Widget channel settings — name, TTS model, voice, Magic Window, and the two customization entry points.
Click Save to persist these. The two buttons below — Customize Widget and Install Widget — are covered next.
2. Customize the widget
Click Customize Widget to open the appearance dialog.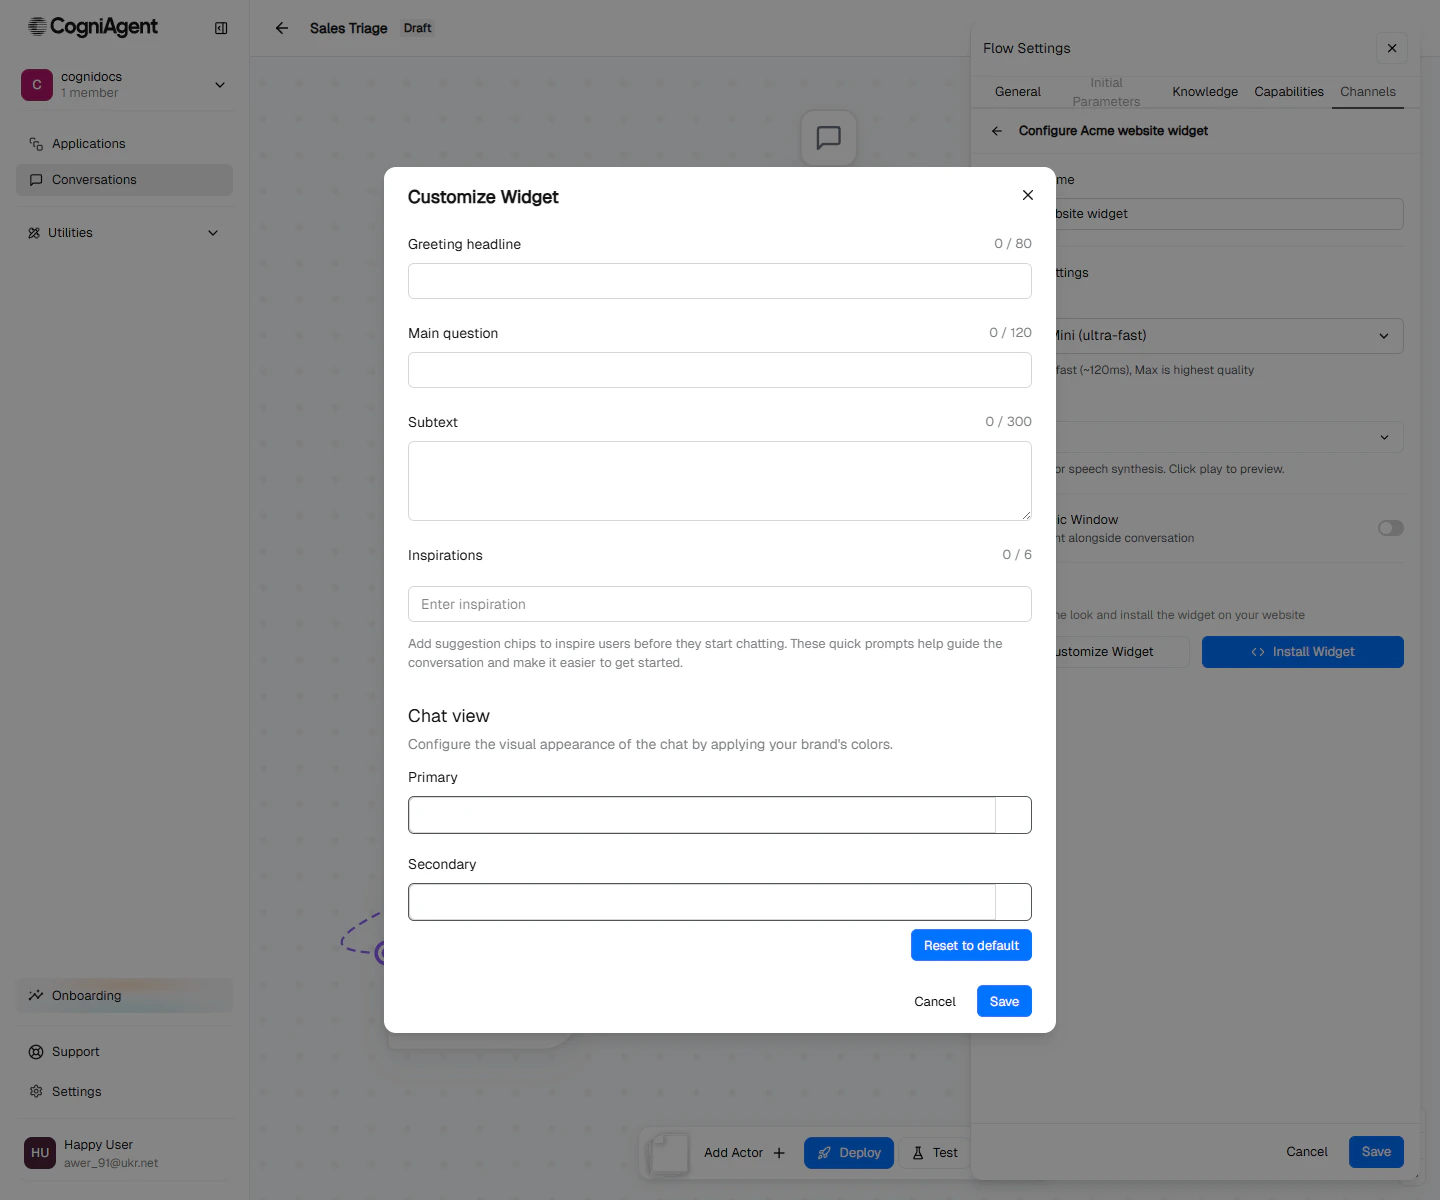
Customize Widget — the text visitors see before they type, the suggestion chips, and the brand colors.
Click Save when you’re done.
3. Install on your site
Click Install Widget to get the embed snippet for your website.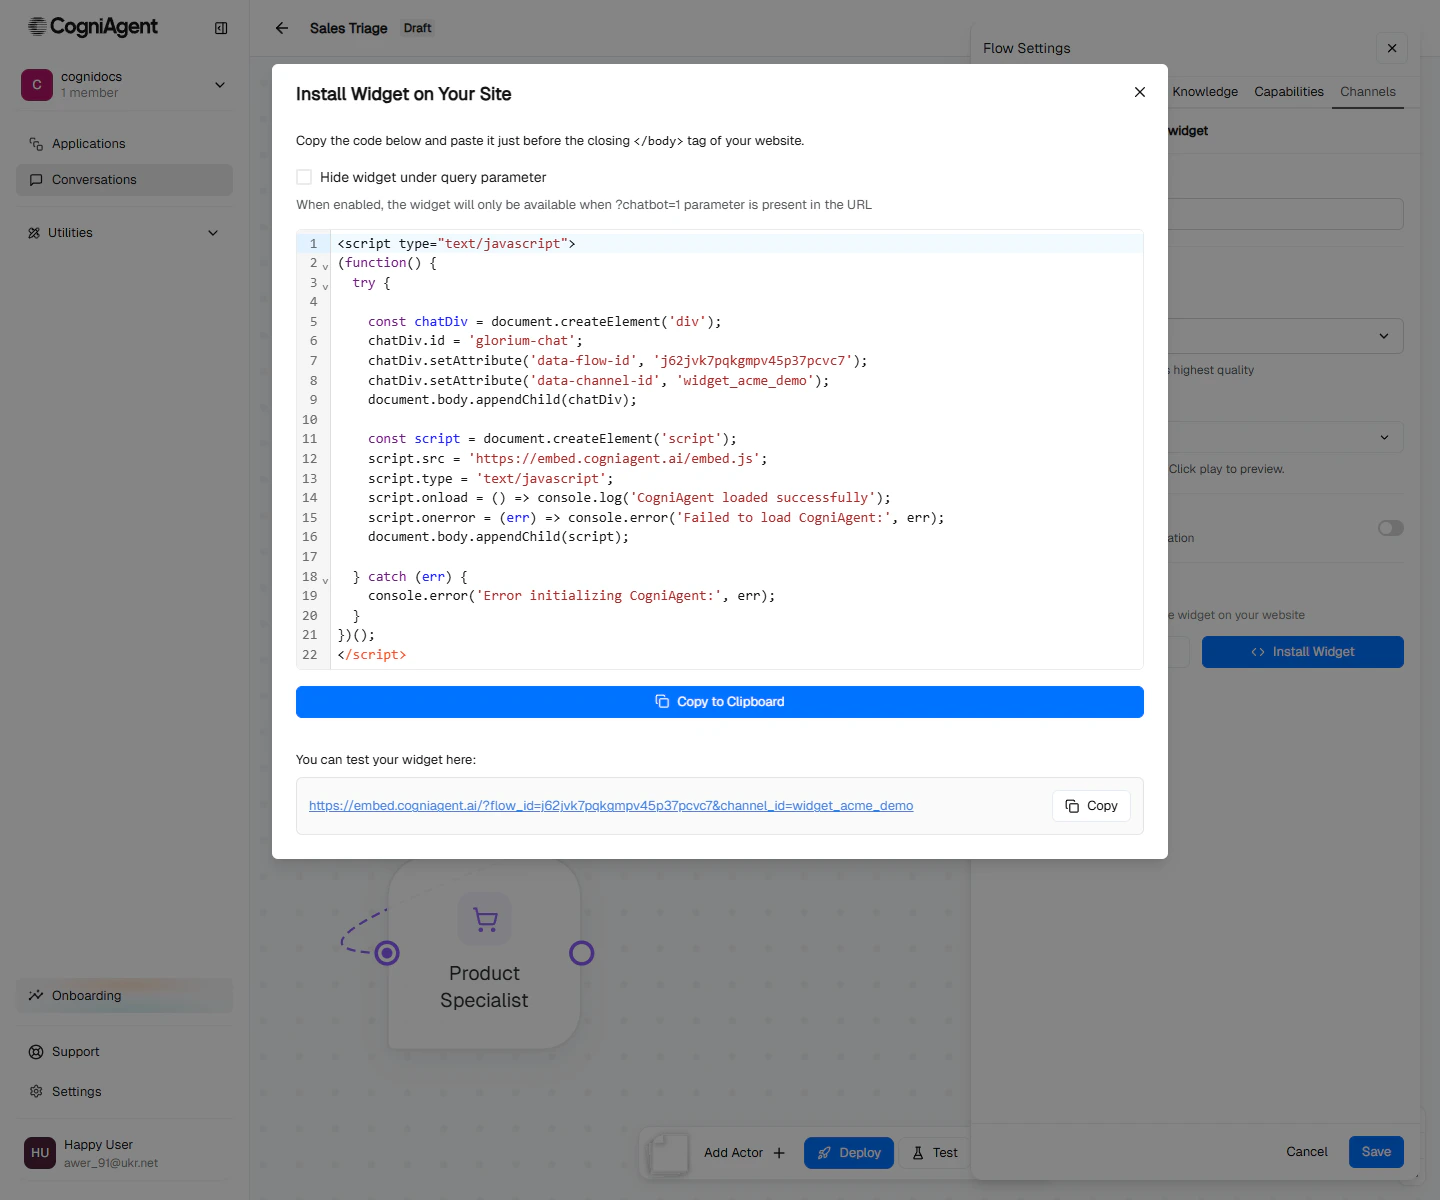
Install Widget — the snippet to paste before the closing tag, plus a hosted test URL.
</body> tag. It looks like this (the data-flow-id and data-channel-id are pre-filled for your flow):
Hide under a query parameter
The Hide widget under query parameter checkbox restricts the widget to URLs containing?chatbot=1. Useful while you’re previewing the widget on a live site without exposing it to everyone yet.
Test before installing
The Install dialog also shows a hosted test URL —https://embed.cogniagent.ai/?flow_id=…&channel_id=…. Click the link to open the widget standalone, exactly as your visitors would see it once embedded.
The hosted test page — the widget opens full-bleed so you can verify branding and conversation flow before going live.
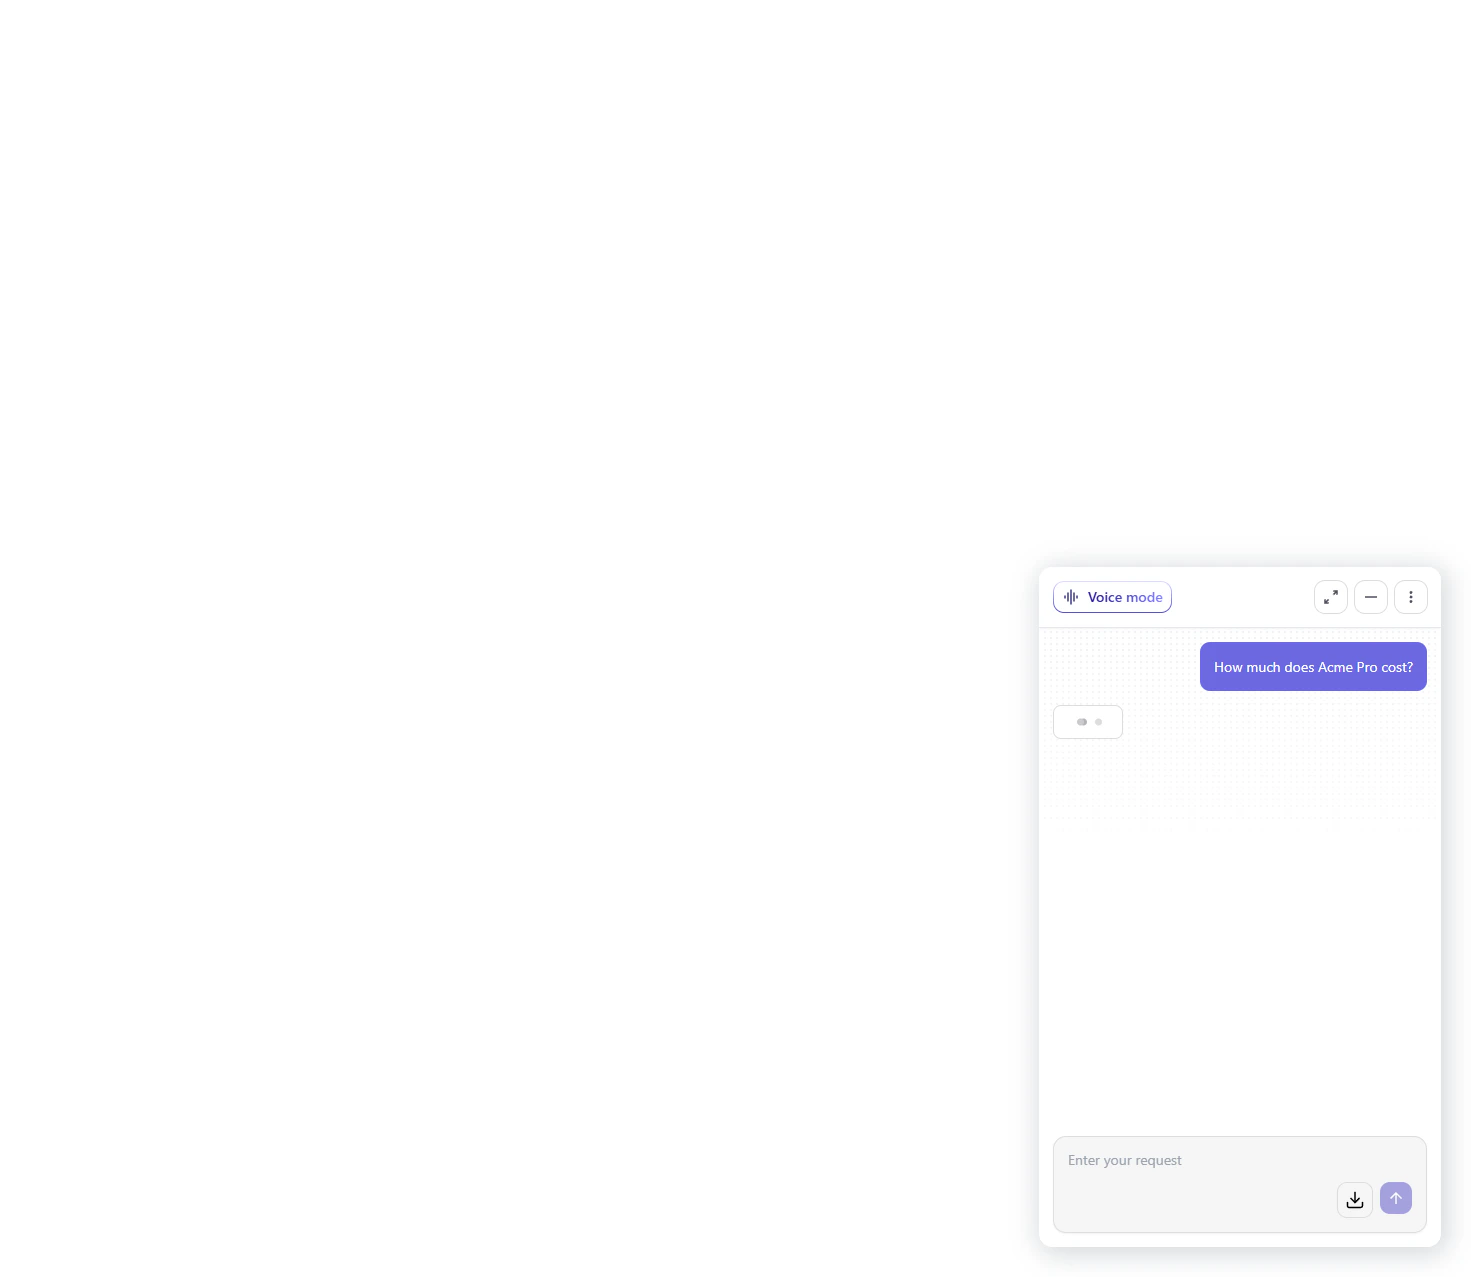
A live conversation in the widget — the Triage actor handed off to the Pricing Specialist.
4. Deploy
The widget only accepts traffic when the flow is deployed. Click Deploy in the bottom toolbar after the channel is configured. The flow card flips fromdraft to deployed, and the embed script starts working on every page where it loads.
What visitors see
- A circular launcher button appears in the corner of every page where the script is loaded.
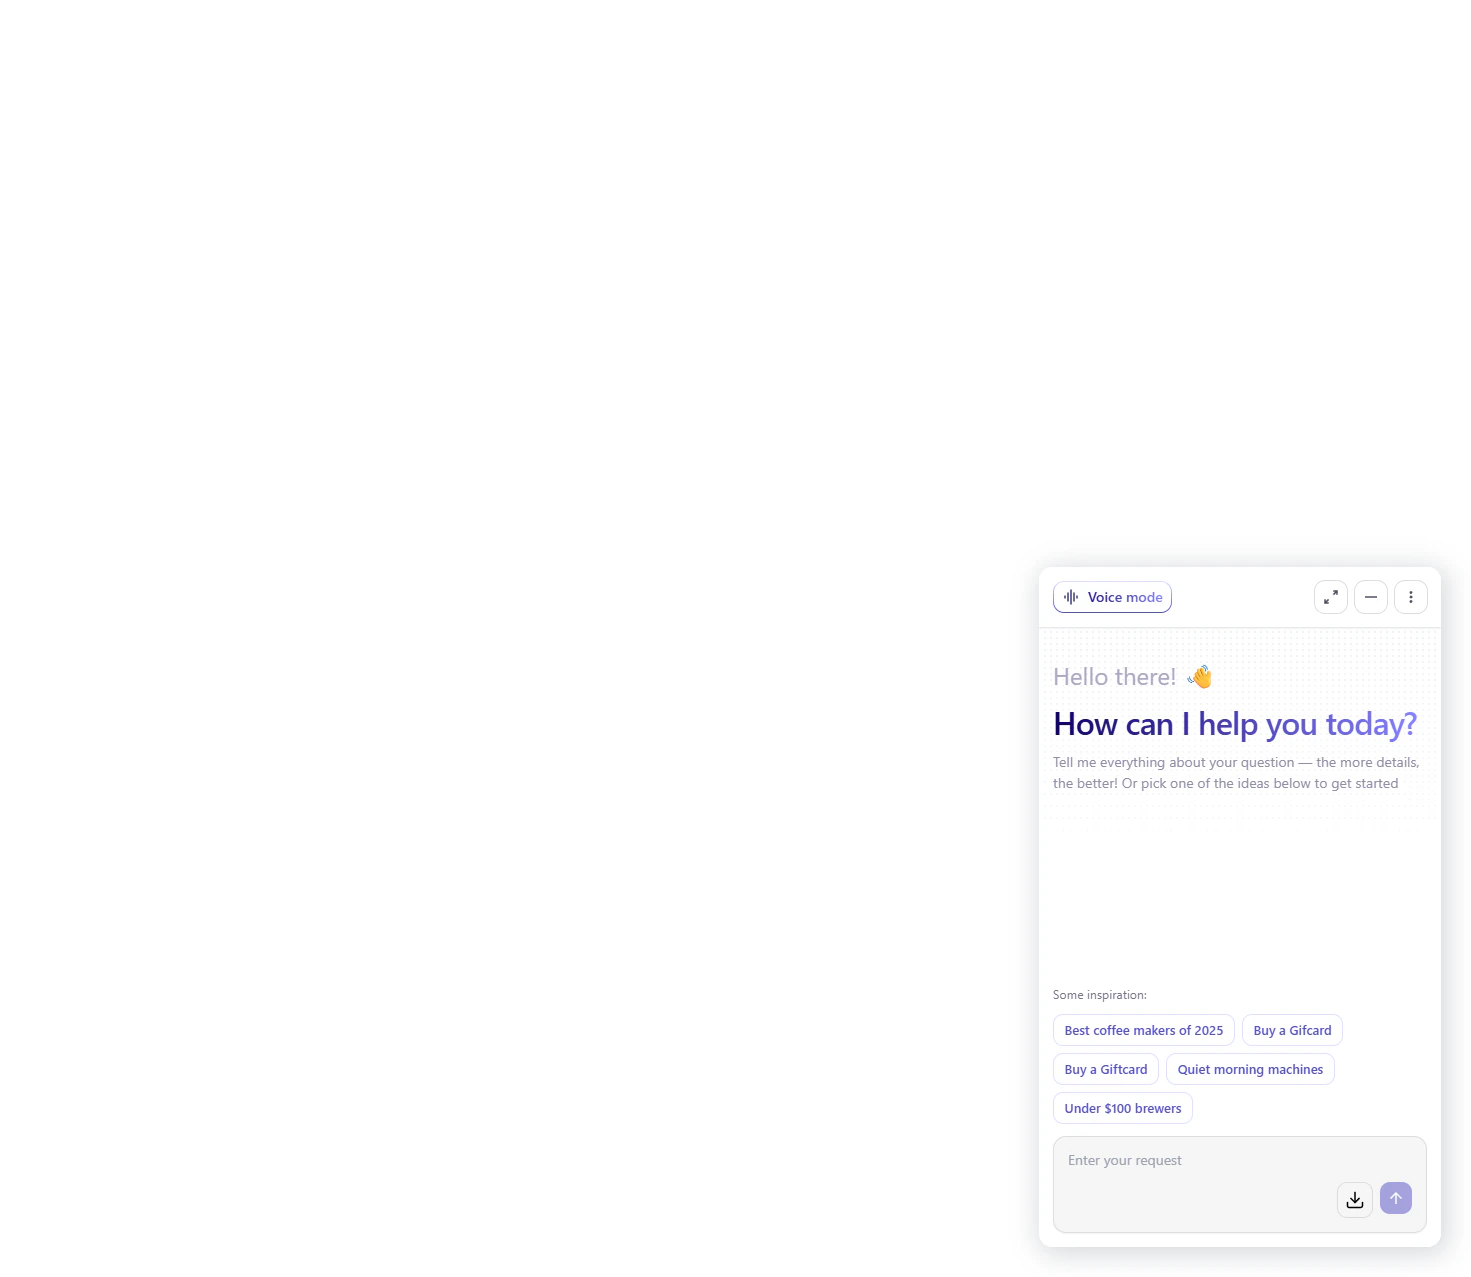
- Clicking it opens a panel showing the greeting, main question, subtext, and inspiration chips you authored.
- The visitor types — or taps a chip — and the conversation runs. Routing picks the right actor, replies come back in the same panel.
- Closing and reopening the widget within the same session preserves history. After session expiry (a few hours of inactivity) the visitor starts fresh.
Inbound only
The Widget is inbound-only. You can’t proactively start a conversation with an anonymous web visitor — they have to open the widget first. For outbound proactive messages, use the Email or Messaging channels instead.Hand-off to a human
For escalation, the typical pattern:- Add a “Human Escalation” actor to the flow.
- Give it a capability that posts to Slack or Teams (e.g. Slack
send-message). - When routing picks it, the actor posts the transcript and a link to the live session to your support channel.
- Your team picks up the conversation from the Conversations history view.
Next
Deploy a flow
Take the widget live so real visitors can chat with it.
Add Gmail or Outlook alongside the widget for follow-ups.
Capabilities
Give actors tools so the widget can actually do things — book meetings, look up orders, post to Slack.
Conversations history
Review every widget conversation, routing decisions, and tool calls after the fact.